Beautiful Plants For Your Interior
Beautiful Plants For Your Interior


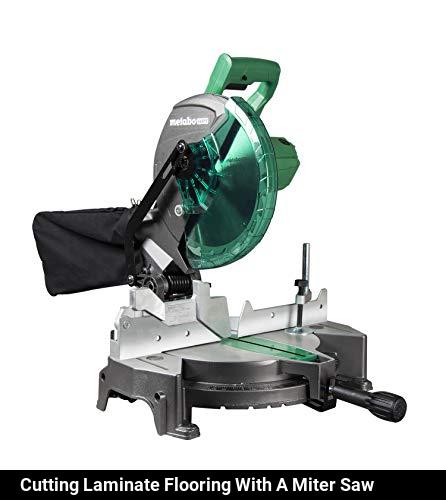
Yes, a miter saw can be used to cut laminate flooring.

A positive bevel stop on a miter saw is a mechanism that limits the maximum angle of the miter saw's blade for accurate, repeatable cuts.
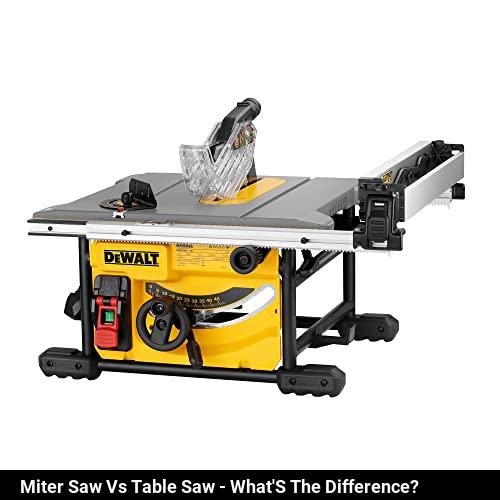
A miter saw is designed to make quick, accurate angled cuts, while a table saw is meant for more precise, straight cuts. The table saw is larger than the miter saw and requires a larger workspace.

A soft start on a miter saw is when the saw motor starts slowly and gradually increases to full speed. This helps reduce strain on the motor and can help improve accuracy on the cut.

A 10-inch sliding compound miter saw has a blade that is 10 inches in diameter, while a 12-inch sliding compound miter saw has a blade that is 12 inches in diameter. The larger blade on the 12-inch saw can cut through thicker material than the 10-inch saw.

Yes, a miter saw can be used to cut plastic. Make sure to use the right blade and ensure that your saw is set to the correct speed.

A dual compound miter saw is a power tool that can be used to make angled crosscuts and miter cuts in various materials. It has two cutting heads that rotate and tilt, allowing for precise and accurate cuts.

To make a compound miter cut on a miter saw, adjust the saw blade to the desired angle and bevel. Then, secure the workpiece and make the cut.

Set the miter saw to the desired angle. Place the wood on the saw's table and securely hold it in place. Turn the saw motor on and carefully guide the blade through the wood. Turn the motor off and remove the wood when the cut is complete.
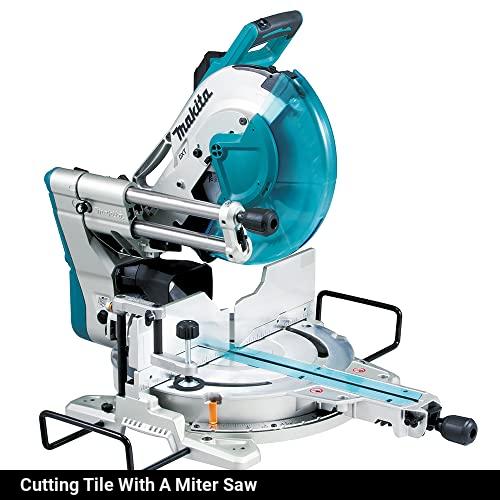
Yes, a miter saw can be used to cut tile. It is important to use a diamond blade to ensure an accurate and safe cut.