Beautiful Plants For Your Interior
Beautiful Plants For Your Interior

Greetings fellow DIYers, and woodworking enthusiasts! Have you ever found yourself in the midst of a project and realized your cuts are a bit off? It can be frustrating to say the least, but fear not! Today, I’m here to show you how to make a crosscut sled for your table saw. This handy tool will allow you to create precise, accurate cuts every time.
To start, you’ll need a few things on hand, including some lumber, bolts, a saw, and some other basic tools. Don’t worry, I’ll walk you through everything you need step by step. Once you’ve gathered your materials, we’ll dive into designing the sled to fit your specific saw.
Building the base and constructing the fence are next on our list, followed by adding the runners. These pieces are crucial to ensuring your sled will glide smoothly over your saw surface. Finally, we’ll get into testing and adjusting the sled until it is dialed in and ready to use.
Before we get started, I want to ensure your safety. Always keep in mind the precautions you need to take when using any power tool. So, let’s get started crafting your own crosscut sled and create beautifully precise woodworking projects. Let’s do this!
Before you start building your crosscut sled, you’ll need to gather a few materials and tools. Here’s a basic list of what you’ll need:
Materials:
Tools:
Having everything you need at the outset will streamline the process and ensure you have everything on hand when you need it. With the materials and tools gathered, let’s move on to designing your crosscut sled.
Designing your crosscut sled is a crucial step towards building an efficient and accurate crosscut sled. Before you start with the construction, take some time to plan the design and layout of your sled based on your woodworking needs.
Firstly, consider the size of your sled. The sled’s base should be larger than the largest workpiece you plan to cut. You can also add extension wings on either side of the base to accommodate larger workpieces.
Secondly, consider adding a T-track to your sled. A T-track allows for accessories to be added onto the sled, such as a stop block to ensure consistent cuts.
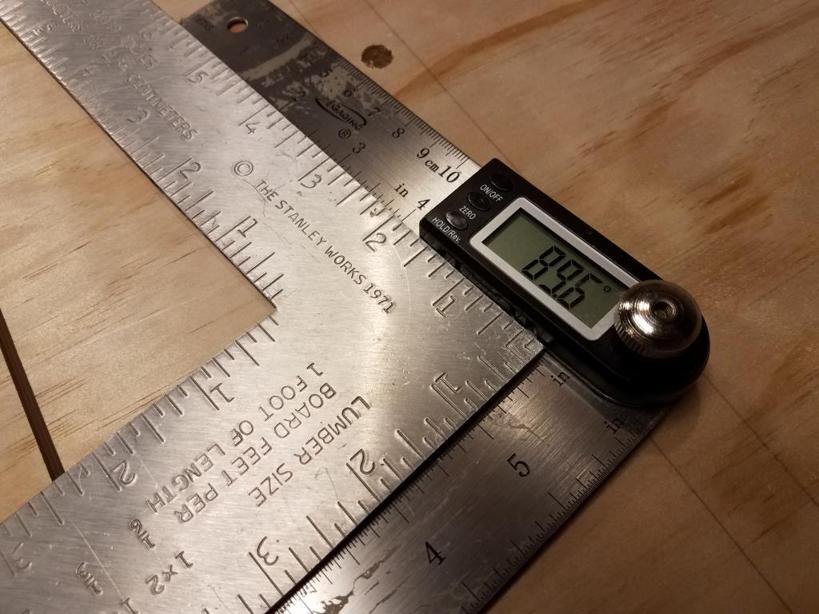
Thirdly, decide on the angle and height of the sled’s fence. The fence should be at a 90-degree angle to the blade and should be tall enough to support the workpiece.
Lastly, take into account the number and placement of the runners. A sled with two runners provides stability and prevents tipping. The runners should be placed consistently and should slide smoothly in the table saw’s miter slots.
By taking the time to plan your design, you can customize your crosscut sled to fit your specific woodworking needs, ensuring accurate and efficient cuts.
The base of your crosscut sled is the foundation for the entire sled. It’s critical to get it right. The wrong base can affect the performance of the sled, making it unstable or inaccurate. Start by selecting a piece of sturdy plywood for the base that is at least 3/4-inch thick. Cut it to the size you need for your sled. The exact size will depend on the size of your saw and the type of cuts you plan to make.
Next, you need to attach the runners to the base. The runners are what allow the sled to slide back and forth smoothly on your saw’s tabletop. Select hardwood or UHMW plastic runners for the best results. Attach them to the underside of the base using screws and glue. It’s important to align the runners perfectly parallel to each other and exactly 90 degrees to the saw blade.
To ensure that your sled is stable and securely mounted, you’ll also need to add sturdy cleats to the bottom of the base. They will help prevent any unwanted movement of the sled while in use. Secure them to the underside of the base using screws and glue.
Once you’ve built the base, you’re ready to move on to the next step—constructing the fence for your crosscut sled.
Your crosscut sled’s fence is an essential part of your sled, ensuring that your cuts are square and accurate. The fence is the part of your sled that runs perpendicular to the saw blade, allowing you to guide your stock through the cut safely.
When constructing your fence, you will need to pay attention to the material you use. A good choice is a straight piece of hardwood, ideally maple or oak, since these are strong, durable, and resistant to warping over time.
Begin by attaching your hardwood piece to your base’s top. Make sure that it is screwed tightly in place, ensuring that there is no wiggle room. Once your fence is securely in place, you can attach a T-track to the top of the fence. This will allow you to add hold-down clamps to keep your stock securely in place, allowing you to focus on the cut instead of worrying about the safety of your fingers.
Remember, your fence will need to be perfectly parallel to your saw blade for your cuts to be accurate, so make sure that you take the time to adjust and test your sled before using it.
Now that you have constructed your fence, it’s time to move on to the next step: adding the runners to your sled.
Now that we have built the base and fence, it’s time to add the runners to the crosscut sled. The runners are what guide the sled through the table saw and ensure a straight and accurate cut.
To start, measure the distance between the two miter slots on your table saw. This measurement will determine the length of the runners you need. Using a hardwood or high-density plastic material, cut the runners to the appropriate length.
Once you have your runners, you can attach them to the bottom of the sled. Make sure they are parallel to each other and centered on the sled’s base. You can attach the runners using screws or glue.
After attaching the runners, slide the sled back and forth in the saw, checking for any wobbling or binding. If the sled is not sliding smoothly, adjust the runners by sanding or adding shims until the sled moves freely.
Adding the runners is an essential step in constructing a crosscut sled that will deliver accurate and repeatable cuts. With the runners installed, your sled is now ready for testing and adjustments.
Before you start making cuts, it’s important to test your crosscut sled to ensure that it’s accurate and safe to use. Here are a few steps to follow:
By following these steps, you can test and adjust your crosscut sled to ensure that it’s cutting straight, square, and safe to use. Remember to test often and make adjustments as needed to maintain the sled’s accuracy.
As with any power tool, using a crosscut sled can be dangerous if proper safety precautions are not taken. Here are some important safety tips to keep in mind when using a crosscut sled:
By taking these simple safety precautions, you can safely use your crosscut sled and avoid any accidents. Remember to always be aware of your surroundings and follow proper safety guidelines to ensure a safe and successful woodworking experience.
Congratulations! You’ve successfully completed building your very own crosscut sled for your table saw. Now that you’ve followed the steps outlined in this guide, you can enjoy the benefits of a more precise and accurate cutting experience.
As a reminder, always prioritize your safety when using a crosscut sled. Remember to use hold-downs and push sticks, and never reach over the blade.
Making a crosscut sled can seem intimidating at first, but with the right materials, tools, and design, anyone can do it. Take your time during the prototyping and testing phase to ensure that your sled is perfect for your needs.
In the end, the investment you’ve made in constructing a crosscut sled will be well worth the time and effort. Happy cutting!