Beautiful Plants For Your Interior
Beautiful Plants For Your Interior
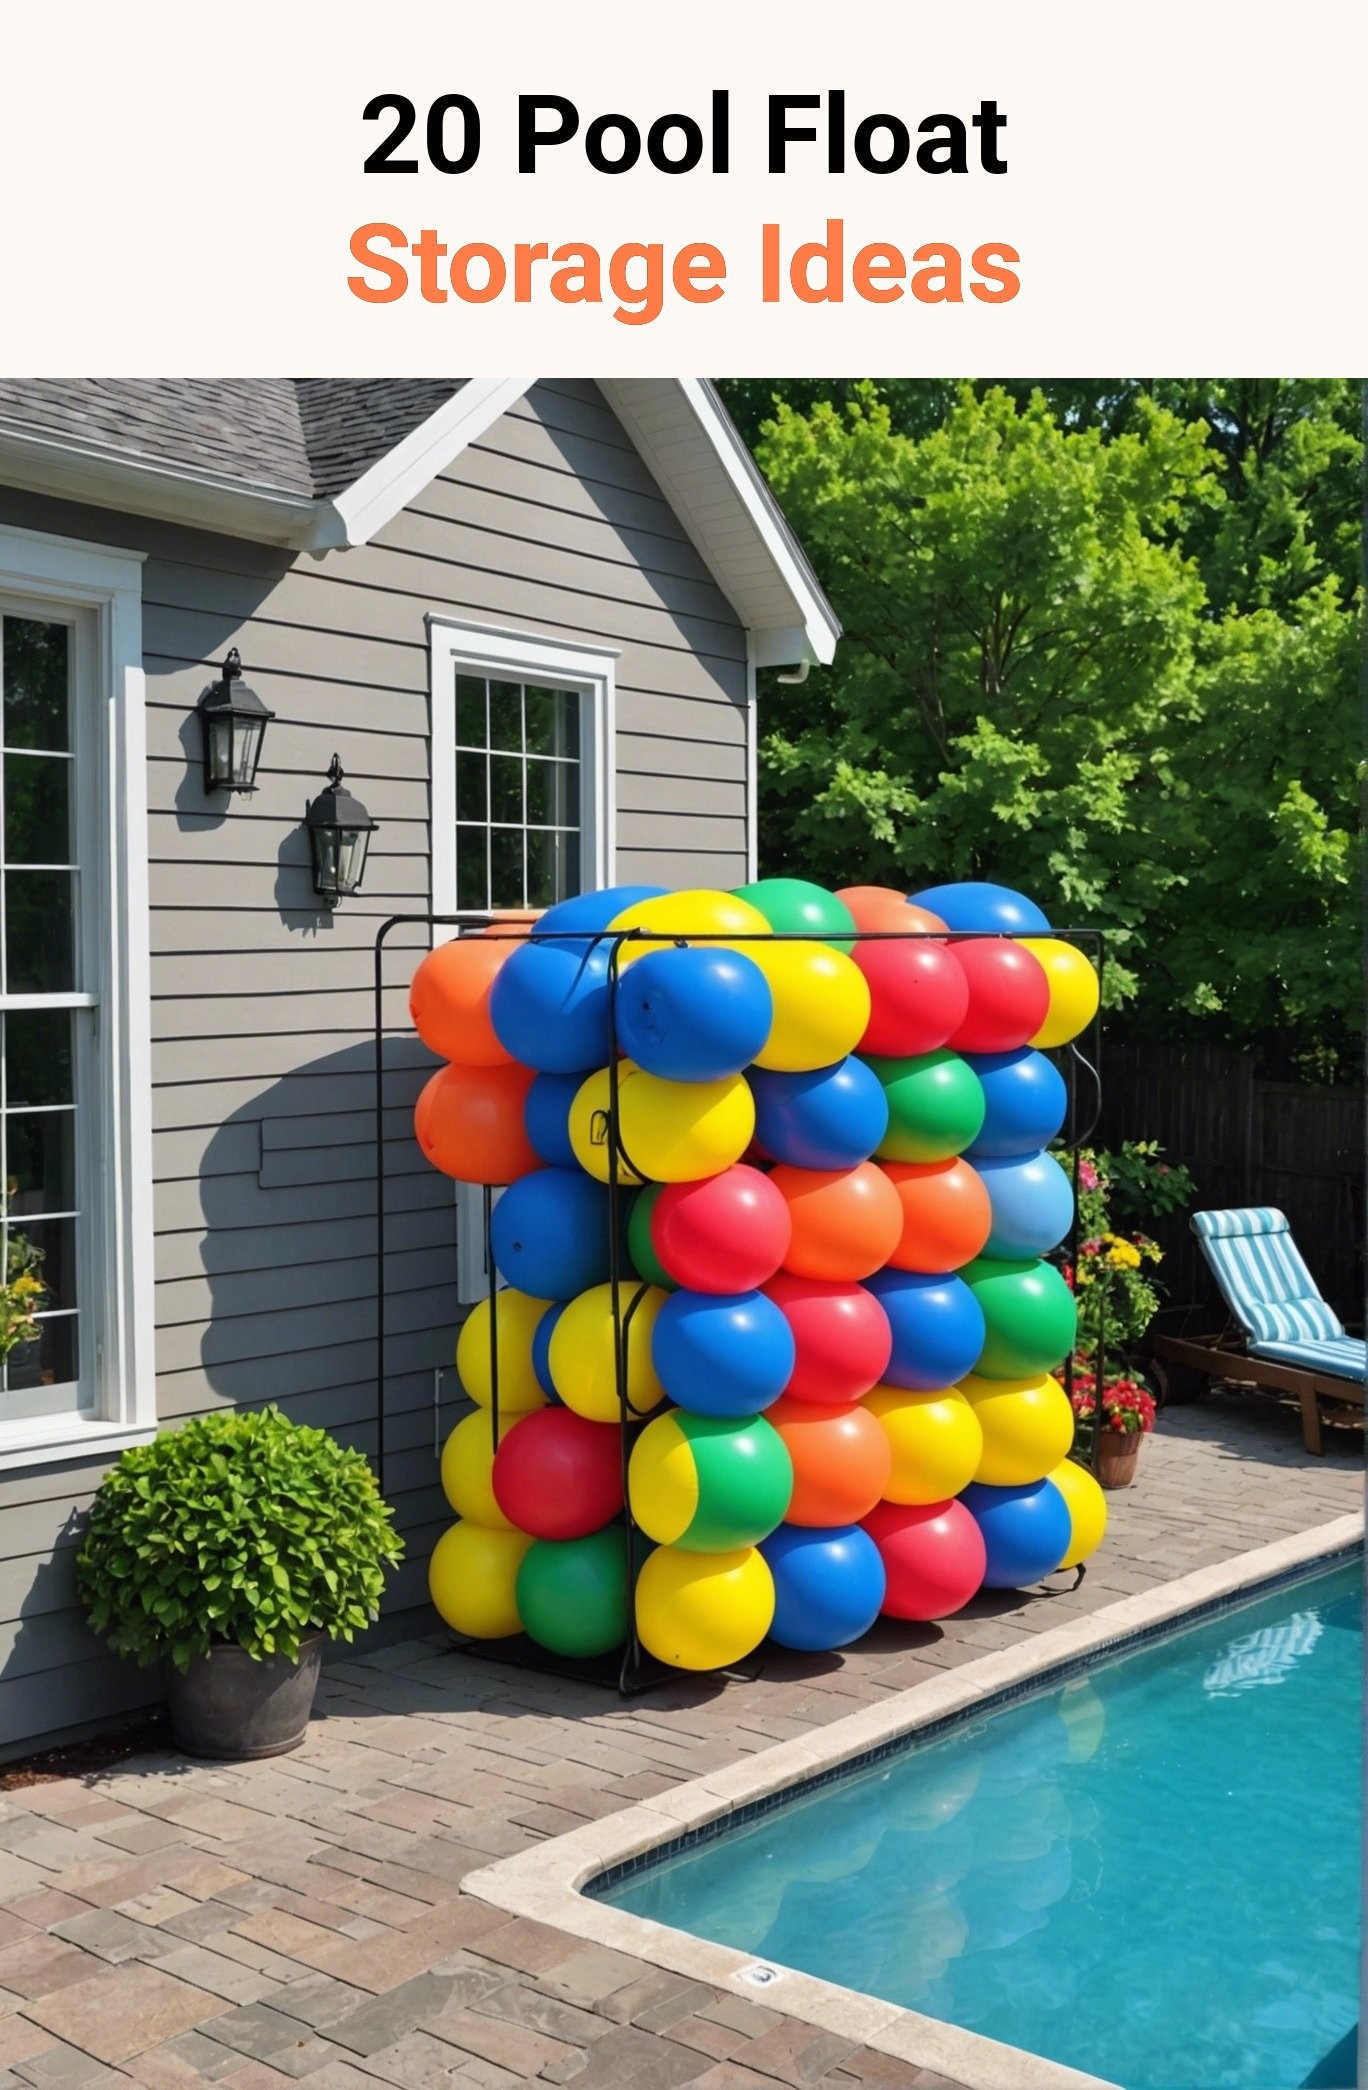
Pool floats bring fun to our summer days, but storing them afterwards can be a real hassle. Keep your backyard organized and clutter-free with these innovative pool float storage ideas, from utilizing hidden spaces to stylishly repurposing everyday items – we’ve got you covered!
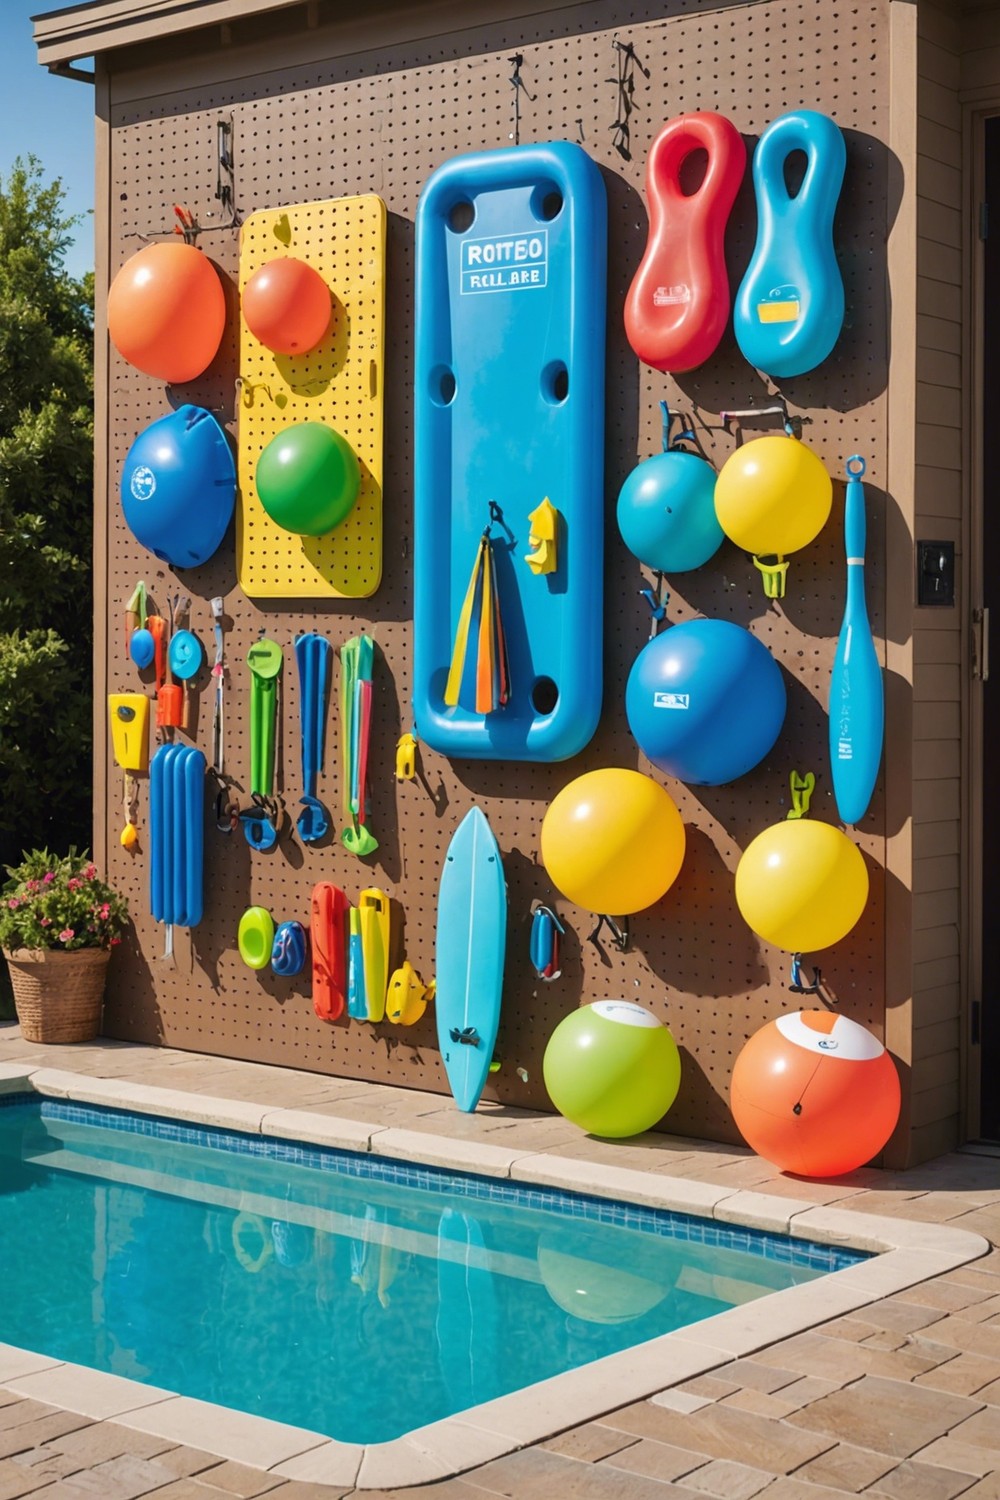
Hanging a pegboard on a wall is an excellent way to maximize your storage space. This will provide you with ample hooks and bins to store your pool floats, keeping them organized and within easy reach.
You can customize the pegboard to fit your specific needs, adding more hooks for bulky floats or bins for smaller accessories like pool toys or inflatables.
This storage solution keeps your pool area clutter-free and makes it easy to grab what you need for a fun-filled day in the sun!
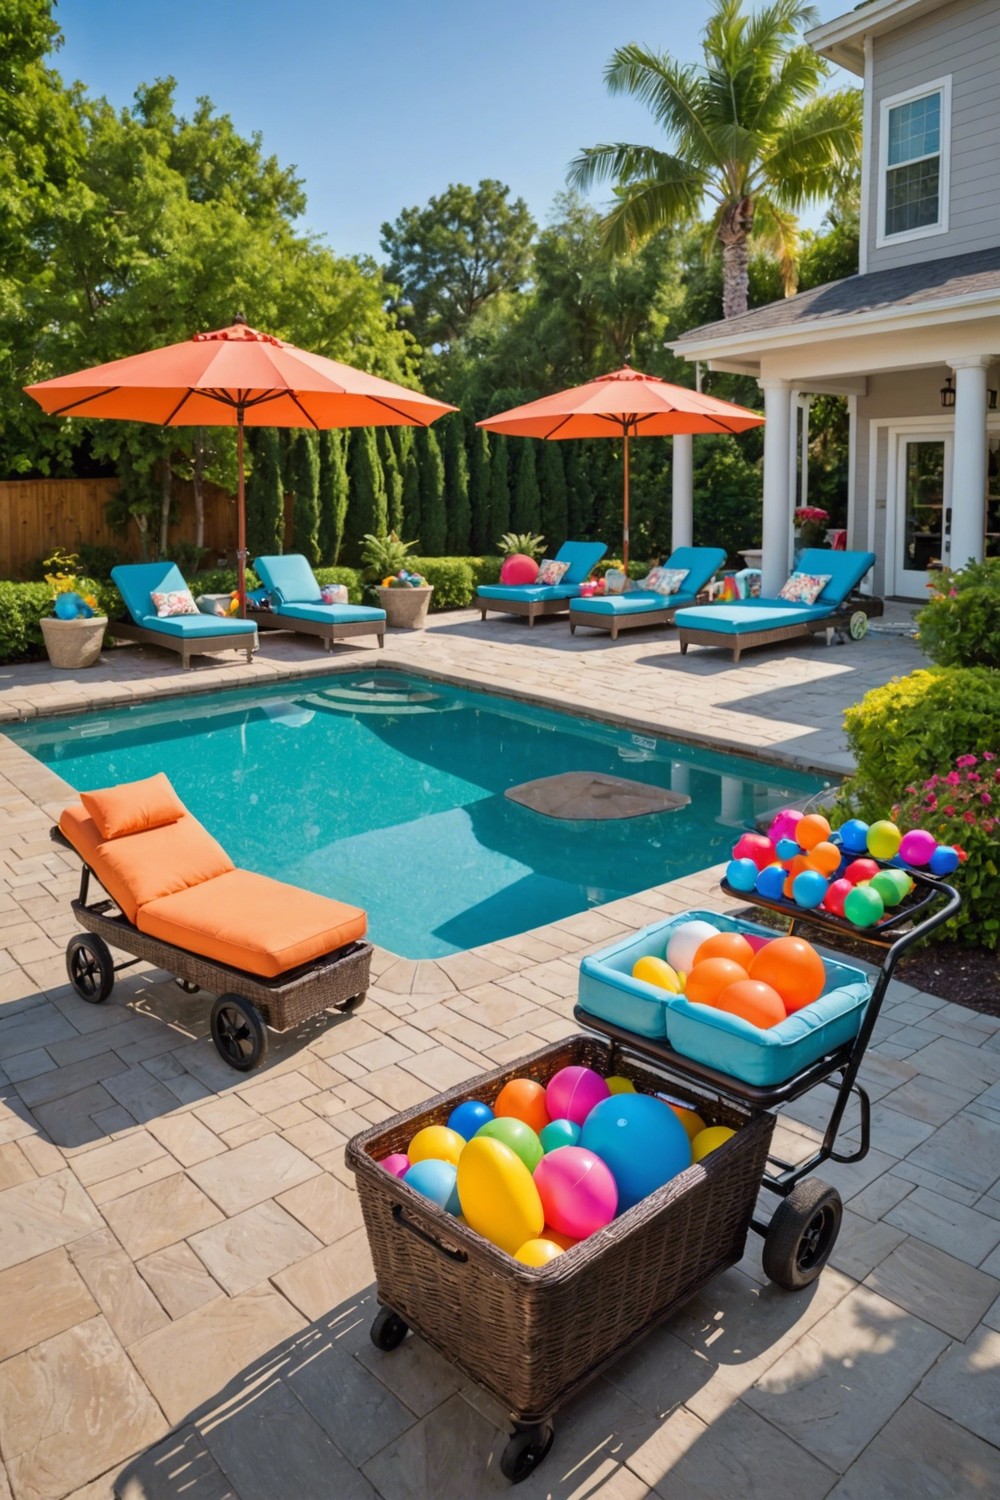
A rolling cart with baskets is a fantastic way to store your pool floats. It keeps them organized, protected, and easily accessible.
You can place the cart near the pool area, making it convenient to grab a float whenever you need one.
The baskets will keep your floats clean and dry, preventing mildew and bacterial growth.
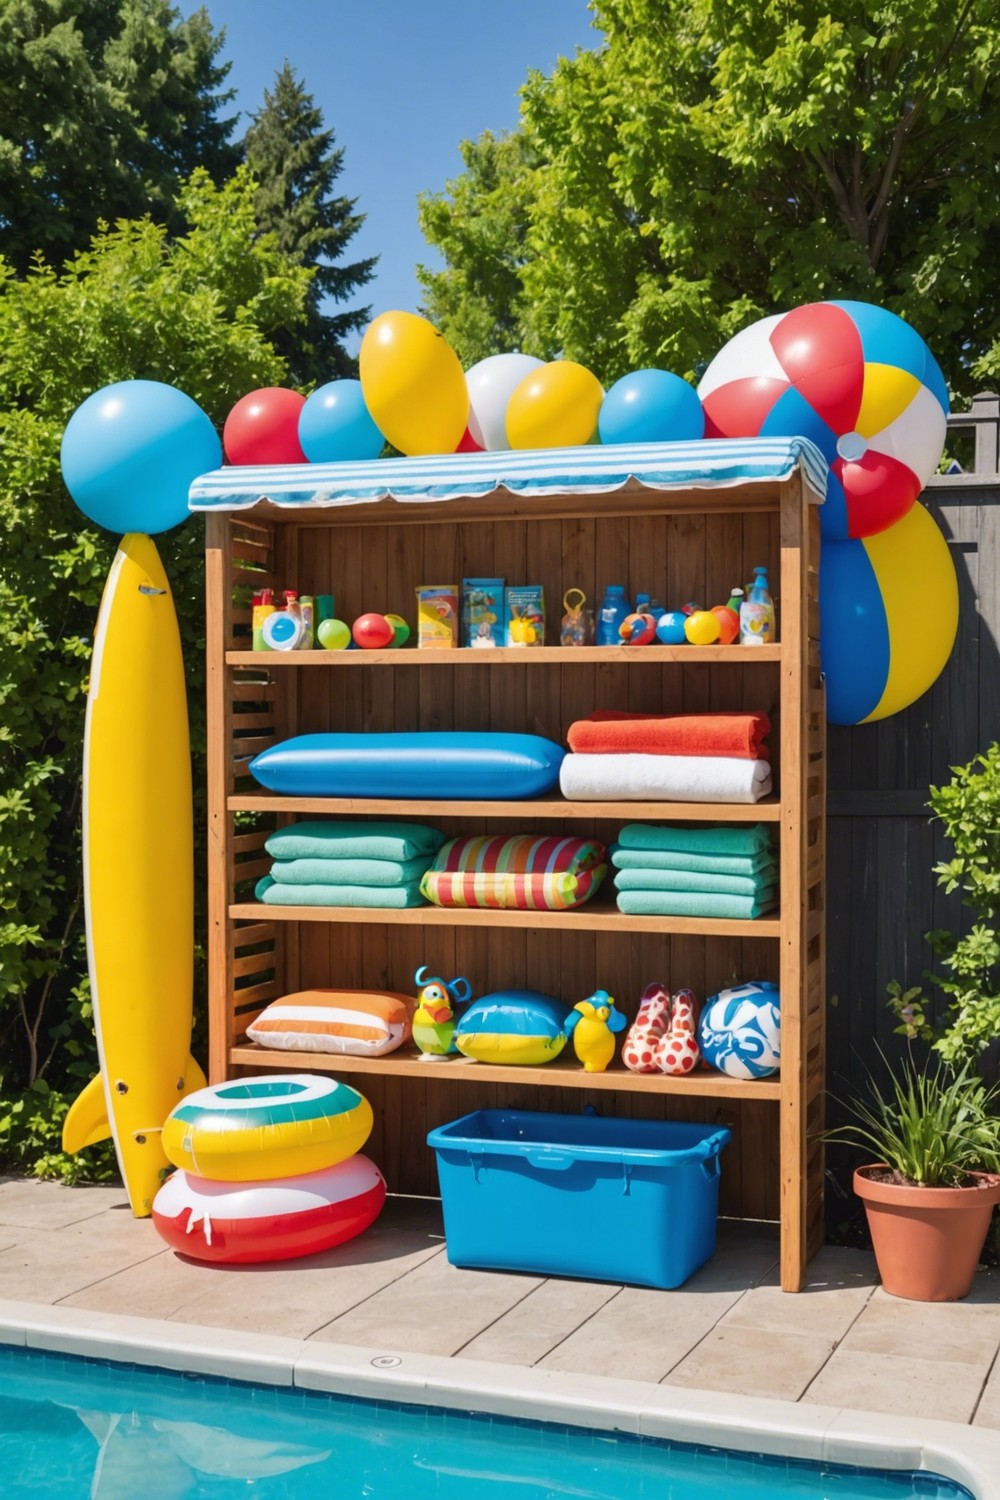
Repurpose an Old Bookshelf: Give new life to an old bookshelf by turning it into a pool float storage unit.
Remove the back panel and attach hooks or a pegboard to hang your inflatables.
You can also add baskets or bins to store smaller pool accessories like toys, sunscreen, and towels.
A quick coat of waterproof paint will ensure the bookshelf withstands the outdoor elements.
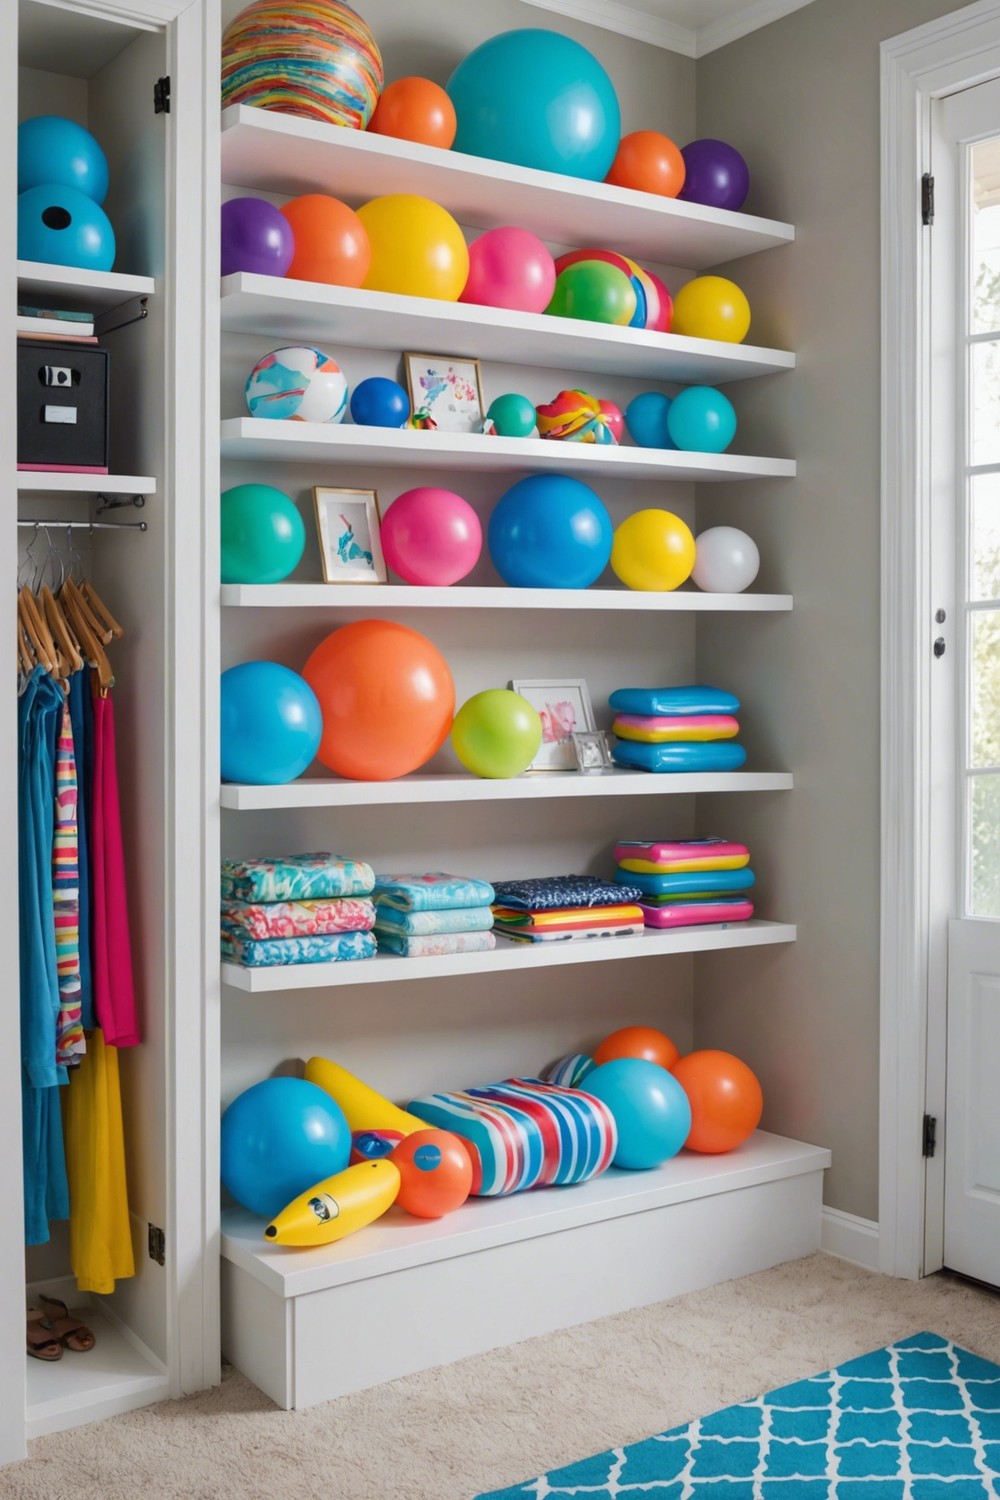
To create a floating shelf in a closet for storing pool floats, start by measuring the width of your closet and the size of your floats.
Choose a shelf width that fits snugly and leaves enough space for easy access.
Use a level to mark the wall where you want the shelf, then drill into the studs to secure the shelf brackets.
Install the shelf, and add decorative trim to conceal the brackets for a sleek, floating appearance.
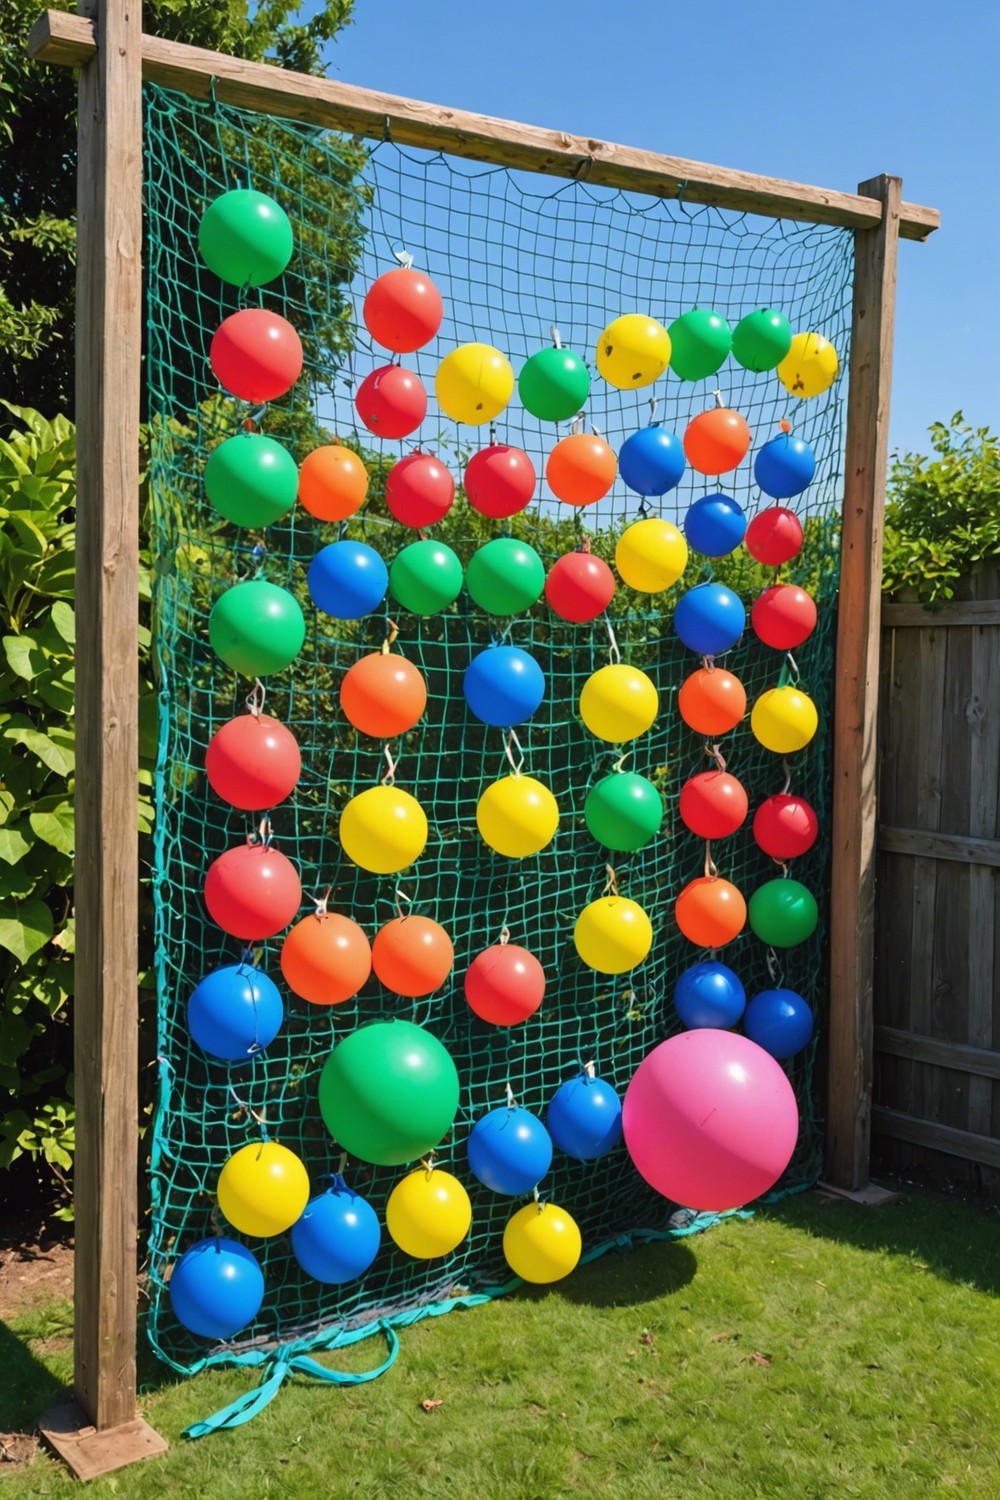
Attaching a storage net to a fence is an ingenious way to stash your pool floats.
Simply hook the net to the fence posts using wire, rope, or even zip ties, and you’ll have a designated spot to hang your floats, keeping them organized and out of the way.
The net’s mesh design allows for airflow, ensuring your floats dry quickly and preventing mildew buildup.
Plus, it’s easy to spot which floats need a good cleaning!
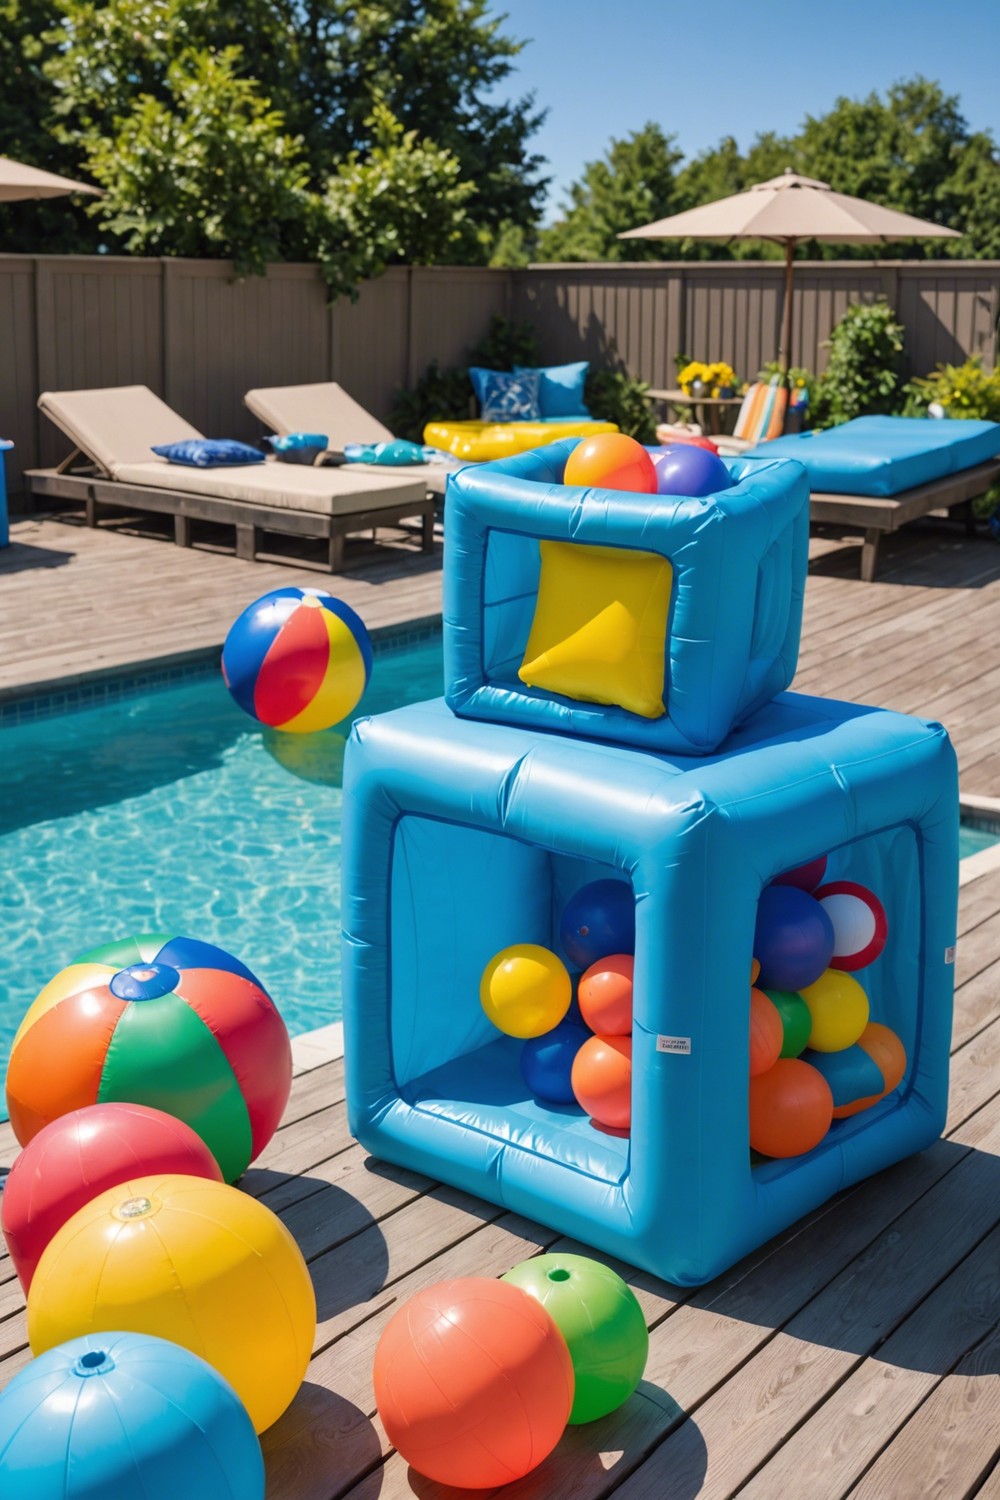
Investing in a collapsible storage cube is a fantastic way to keep your pool floats organized and out of sight when not in use.
These cubes are usually made of durable, waterproof material and come in various sizes to fit your specific storage needs.
Simply place your deflated pool floats inside, zip it up, and store it in a dry area.
The cube’s collapsible design allows for easy storage when not in use, making it a great space-saving solution for your pool area.
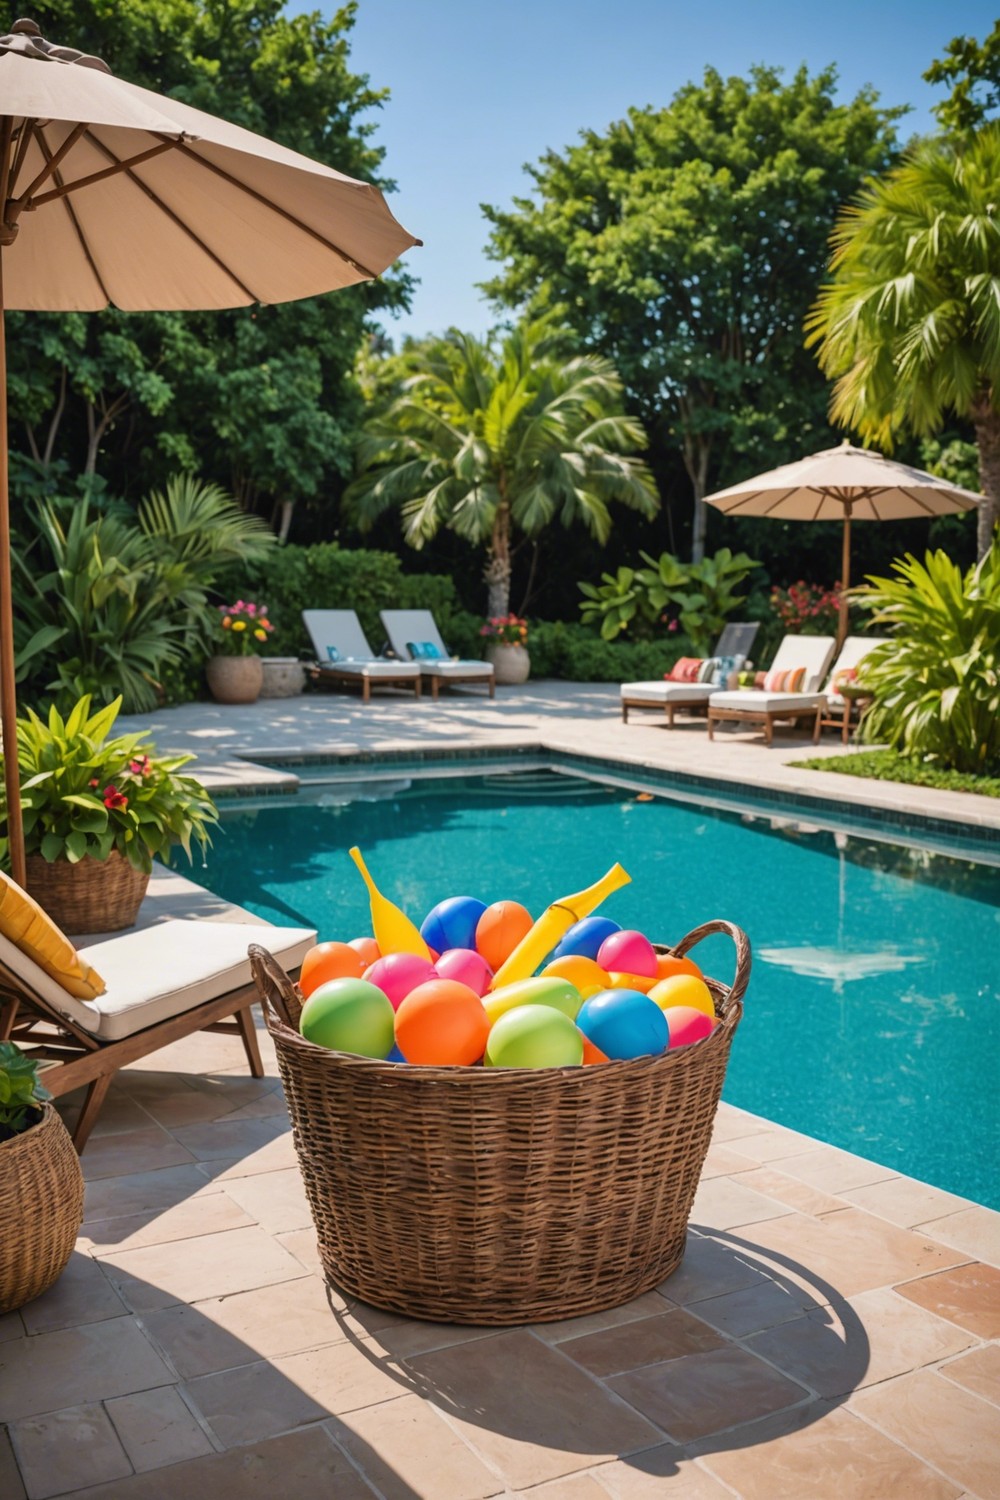
A large wicker basket is a stylish and functional way to store your pool floats. Place it in a convenient spot near the pool, and you’ll have a beautiful and accessible storage solution.
The wicker material adds a natural touch that blends seamlessly with outdoor decor.
Simply toss your floats into the basket after use, and they’ll be dry and ready for the next swim.
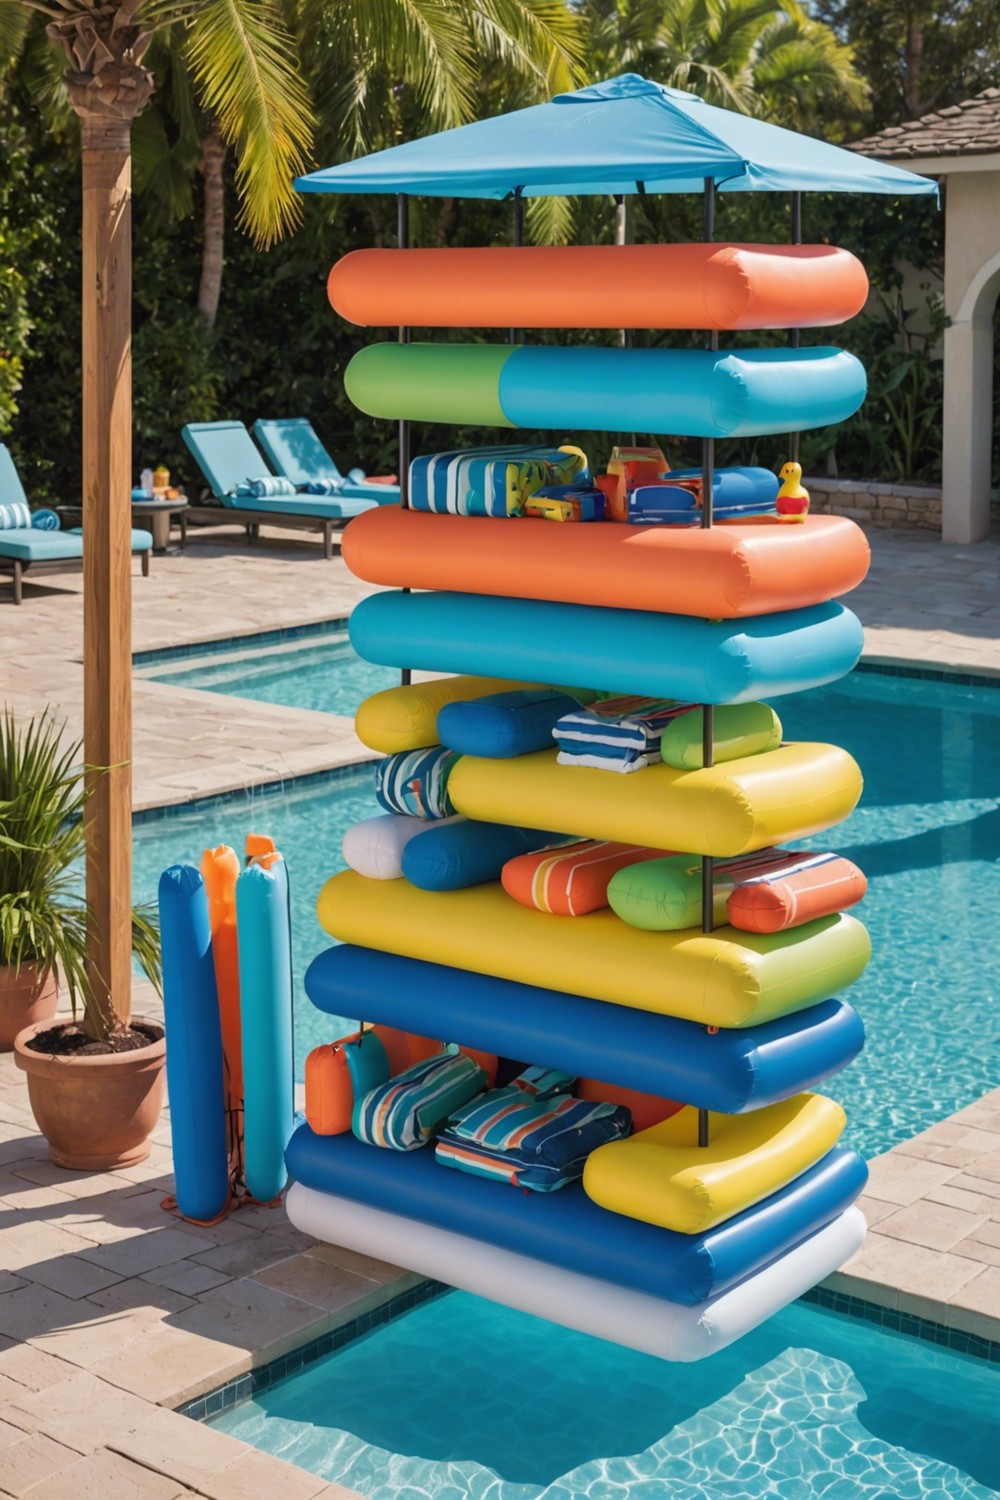
Designate a Pool Float Station that’s easily accessible and within close proximity to the pool area.
This dedicated spot should have ample space to hold all your pool floats, from lounge chairs to inflatable toys.
Consider a mesh or slotted surface to allow for airflow and drainage, keeping your floats dry and preventing mildew buildup.

A well-designed pulley system is an excellent solution for pool float storage. By installing a pulley system, you can effortlessly lift and lower your pool floats between the pool and storage area.
This system requires minimal effort, reducing strain and making it easy to store and retrieve your floats.
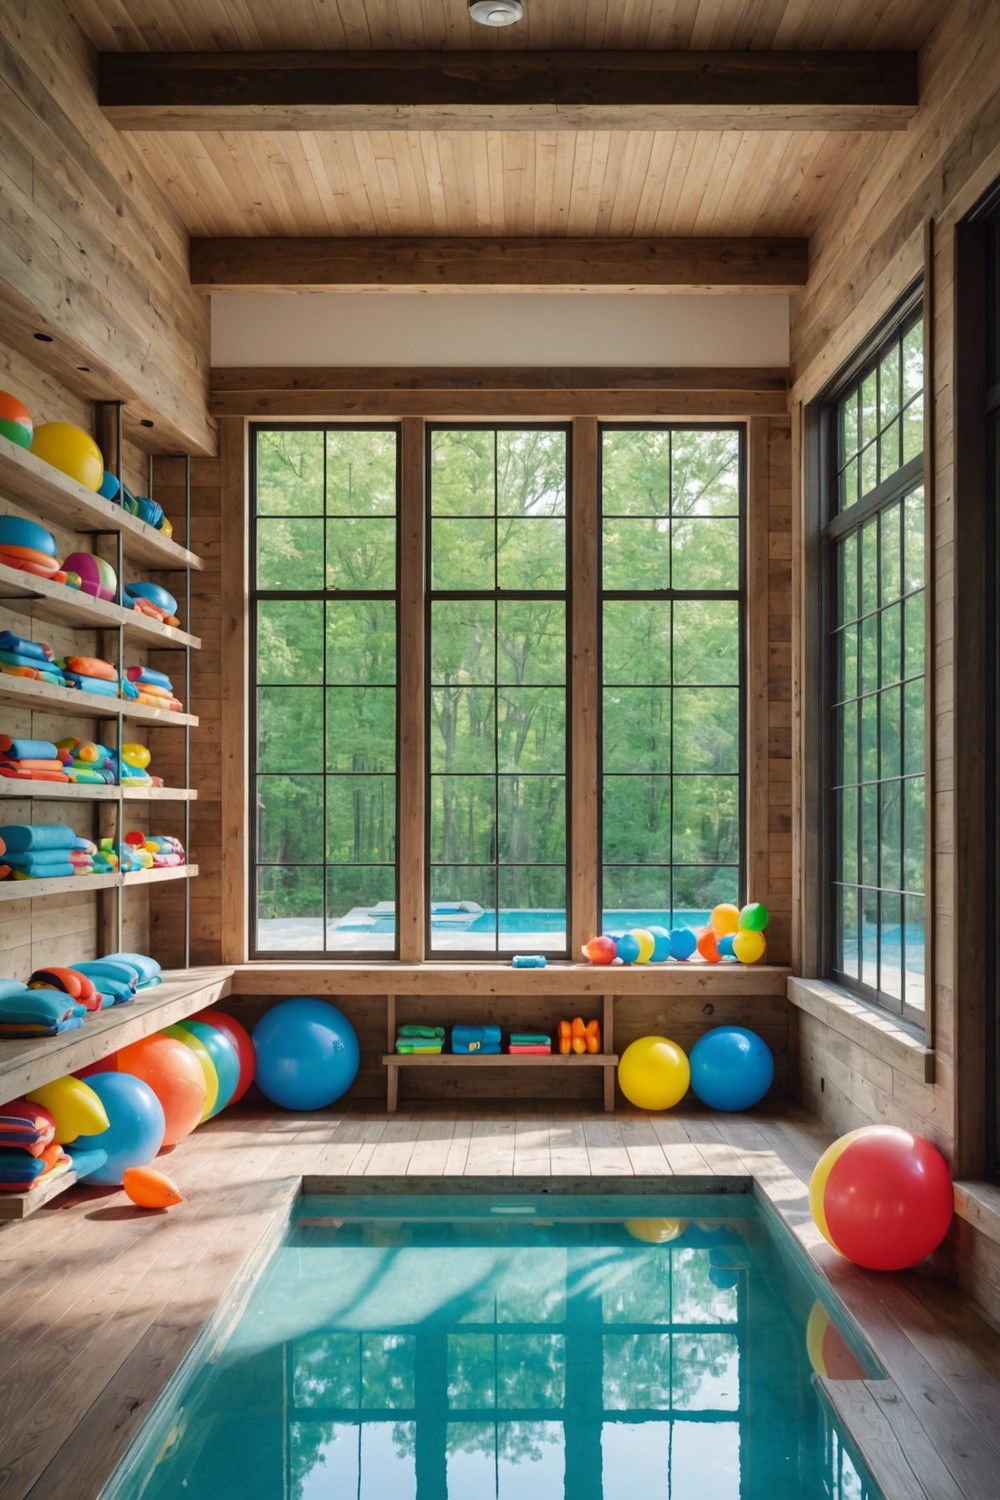
Installing floating shelves in a pool house is an excellent way to create additional storage without taking up valuable floor space.
Plus, it adds a sleek, modern touch to the room’s decor.
Simply attach the shelves to the wall using hidden brackets, and you’ll have ample space to store pool toys, towels, and other essentials within easy reach.
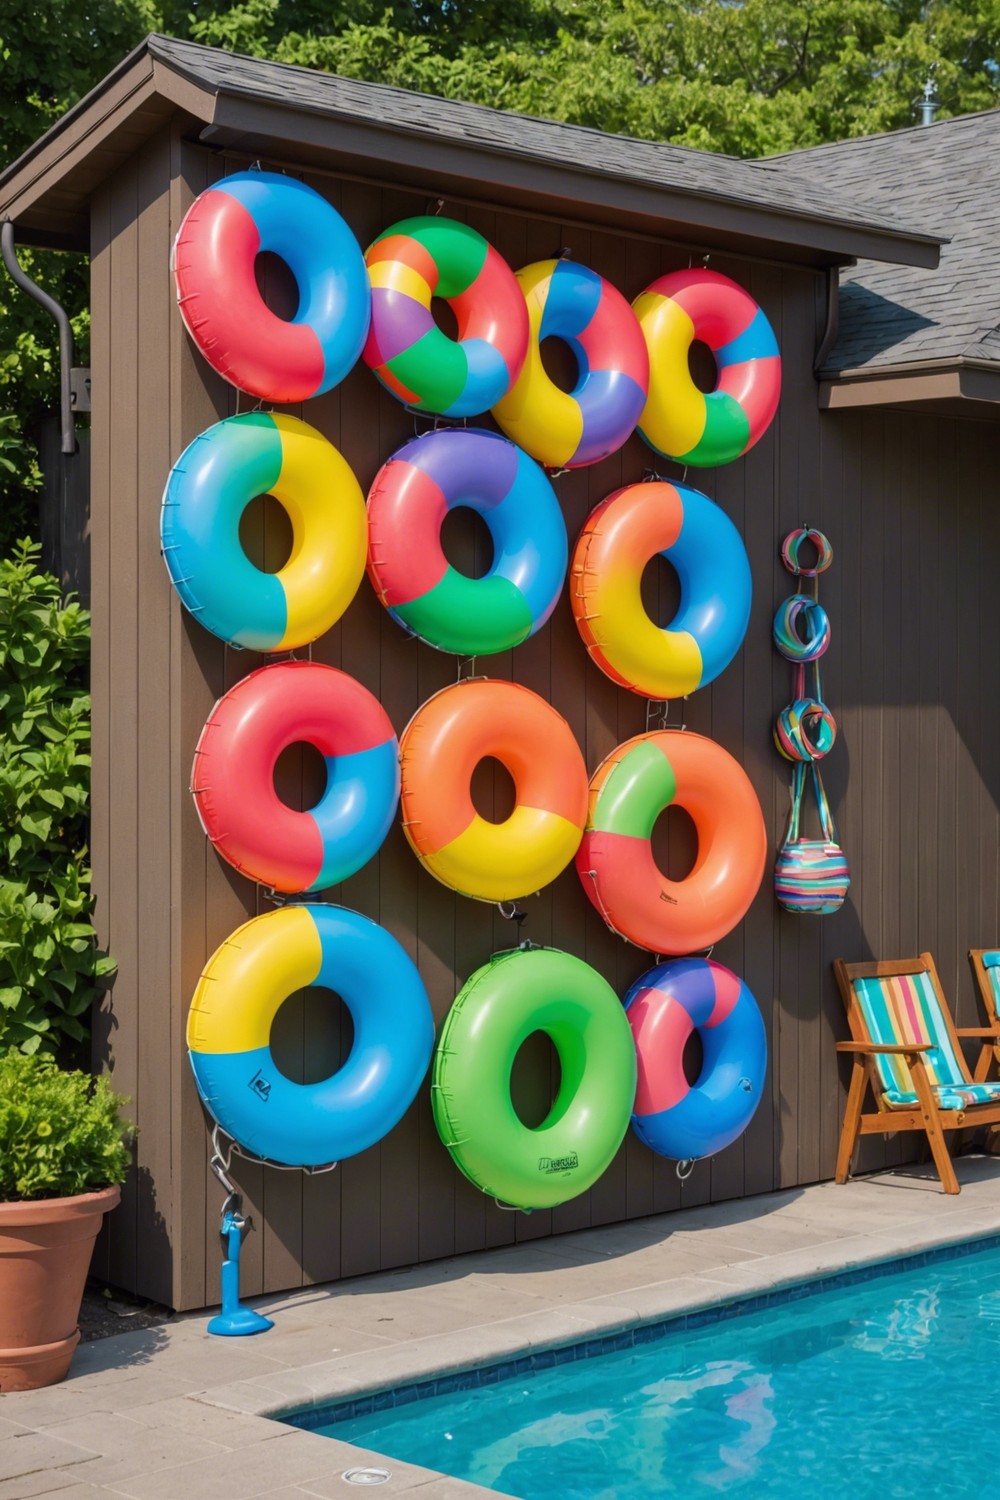
Mounting a wall-mounted rack is a fantastic way to store your pool floats.
This will keep them off the floor, prevent clutter, and make the most of your storage space.
Simply screw the rack into your wall or a fence, and hang your floats from the hooks provided.
This is a great option for smaller floats and inflatables, and can be easily installed in a garage, shed, or even on an outdoor wall.
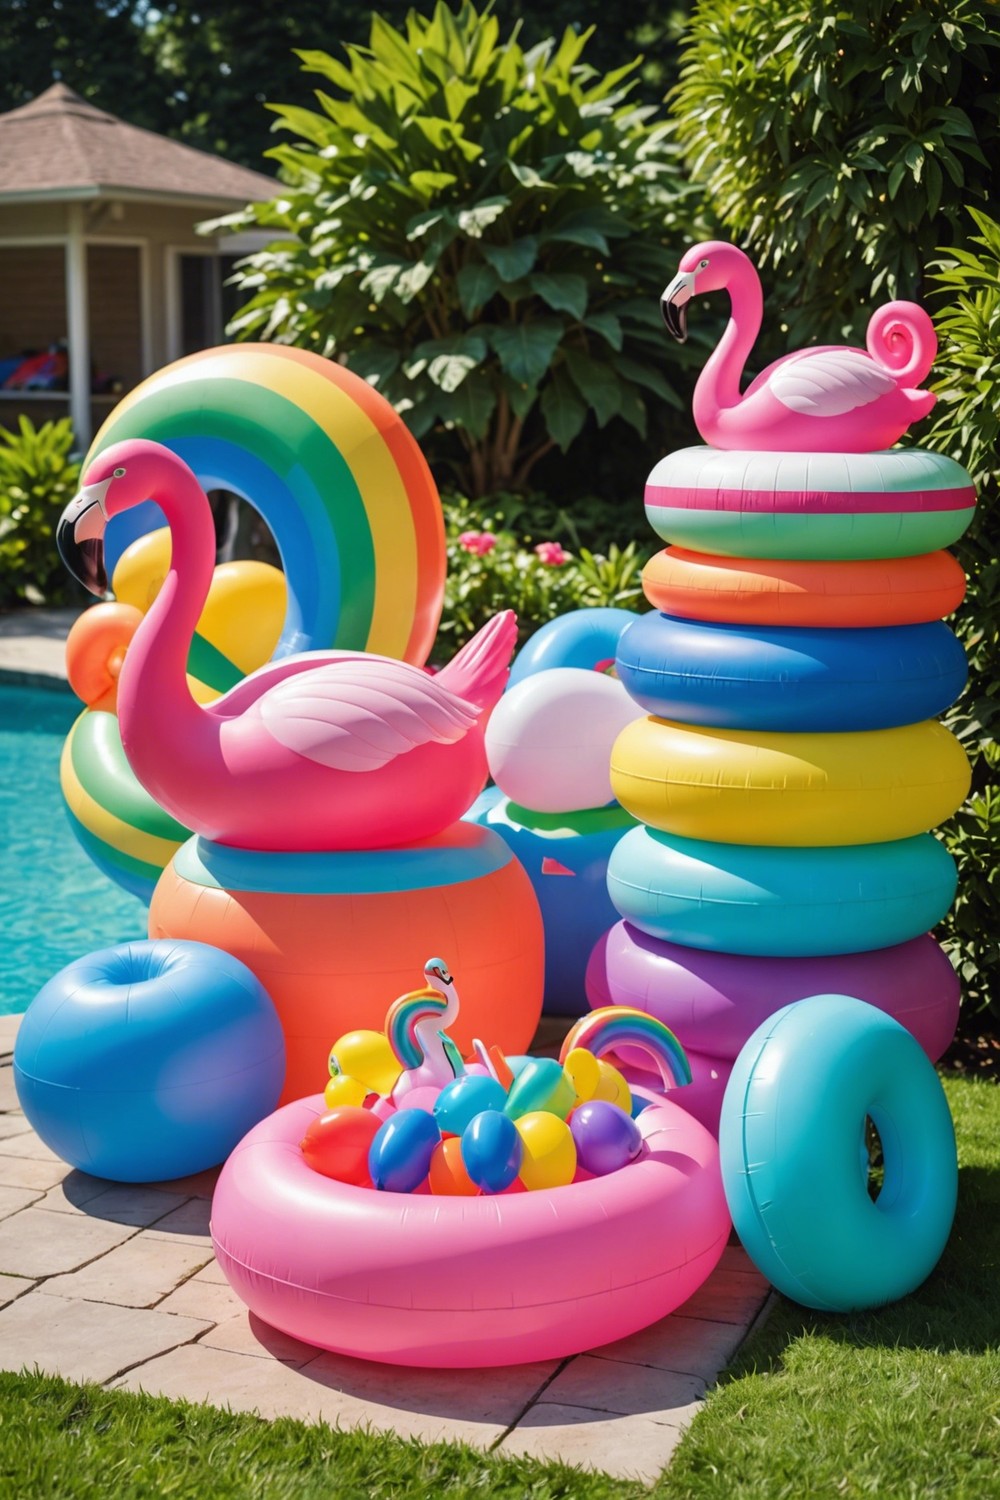
Using a stackable bin system is a fantastic way to store your pool floats.
These bins are designed to be stacked on top of each other, maximizing your storage space while keeping your floats organized and easily accessible.
Simply place each float in its own designated bin, and you’ll be able to find what you need quickly and efficiently.
This system is also great for keeping your pool area clutter-free, which is especially important during peak summer months when you’re likely to have more guests over.
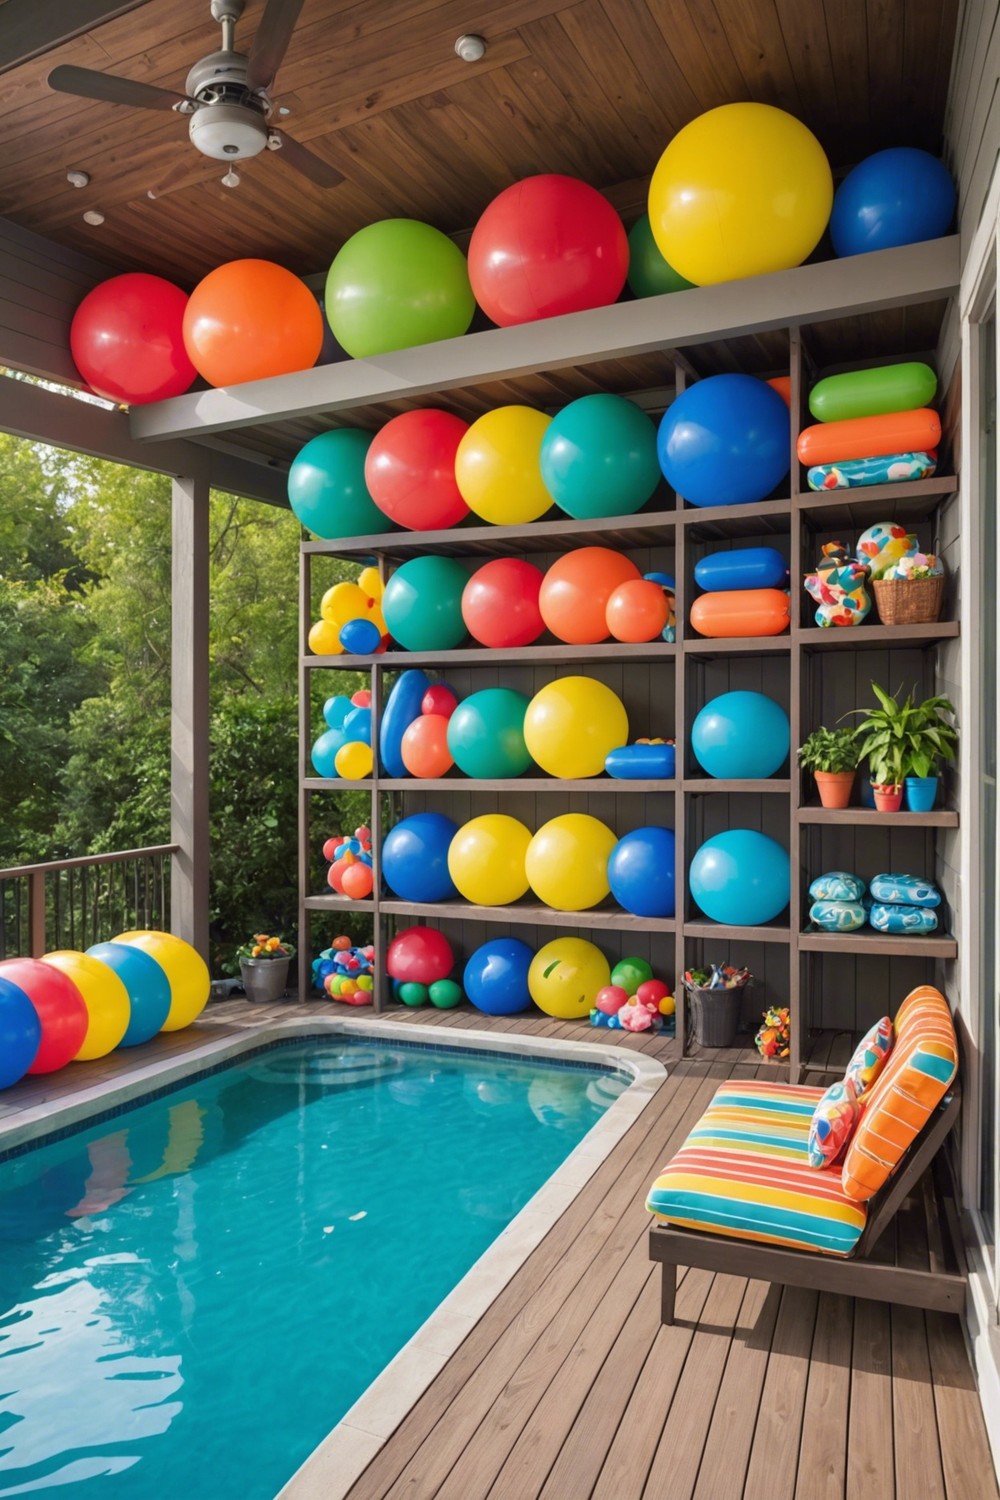
The area underneath your deck can serve as a convenient storage spot for your pool floats.
Simply install some shelves, bins, or hooks to hang your inflatables, and you’ll be able to keep them dry, organized, and out of the way.
This is especially useful if you have limited storage space elsewhere in your yard or house.
Plus, it’s a great way to keep your floats protected from the elements when not in use.
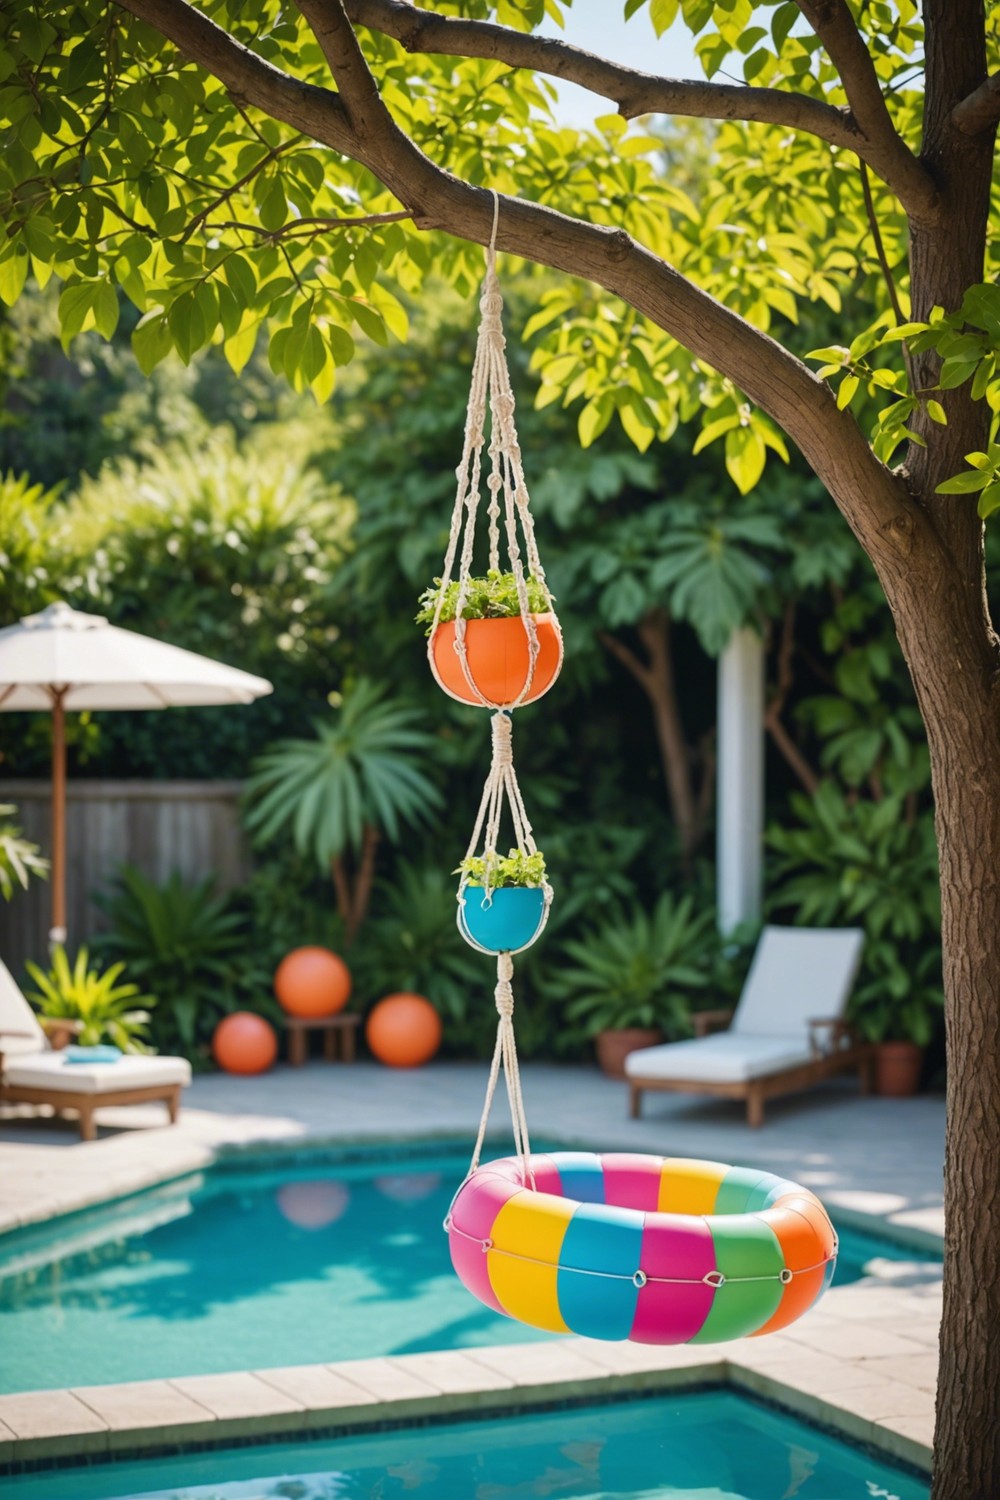
Adding a touch of bohemian flair to your outdoor space, a macrame plant hanger can elegantly store pool floats when not in use. Simply hang the plant hanger from a sturdy hook or a tree branch, and place your pool floats inside.
This creative storage solution will not only keep your pool area organized but also add a decorative element to your outdoor decor.
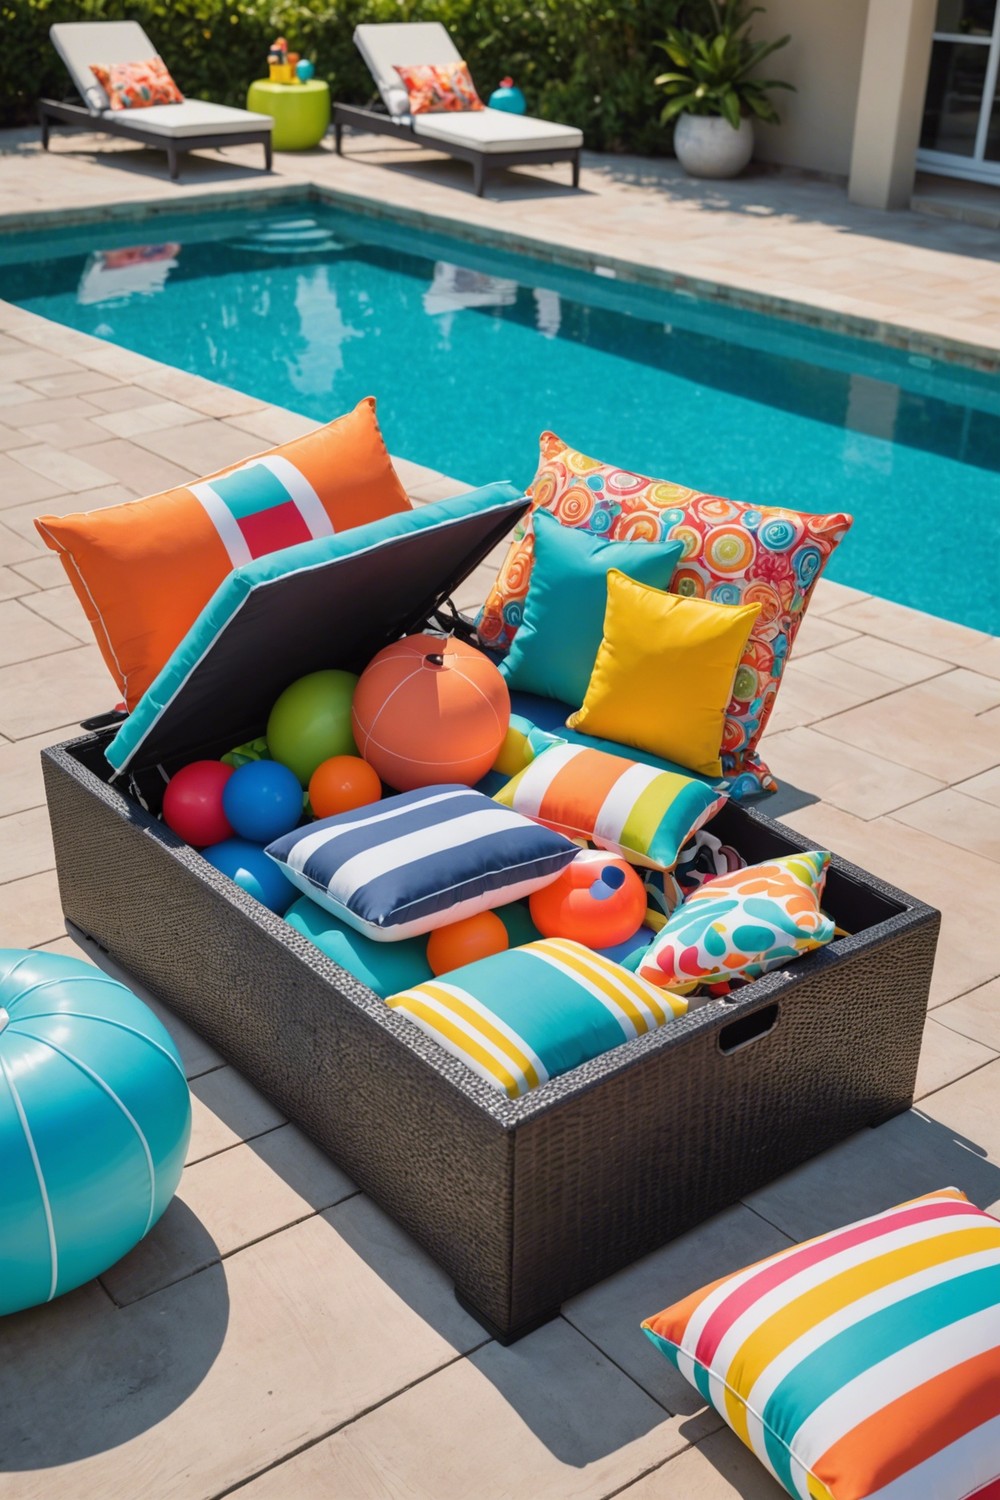
Consider repurposing an old storage ottoman or purchasing a new one specifically designed for outdoor use. You can store pool floats, toys, and other accessories inside.
Look for one with a waterproof lining and a sturdy base that can withstand the elements.
Add a few decorative pillows on top, and you’ll have a functional and stylish addition to your outdoor space.
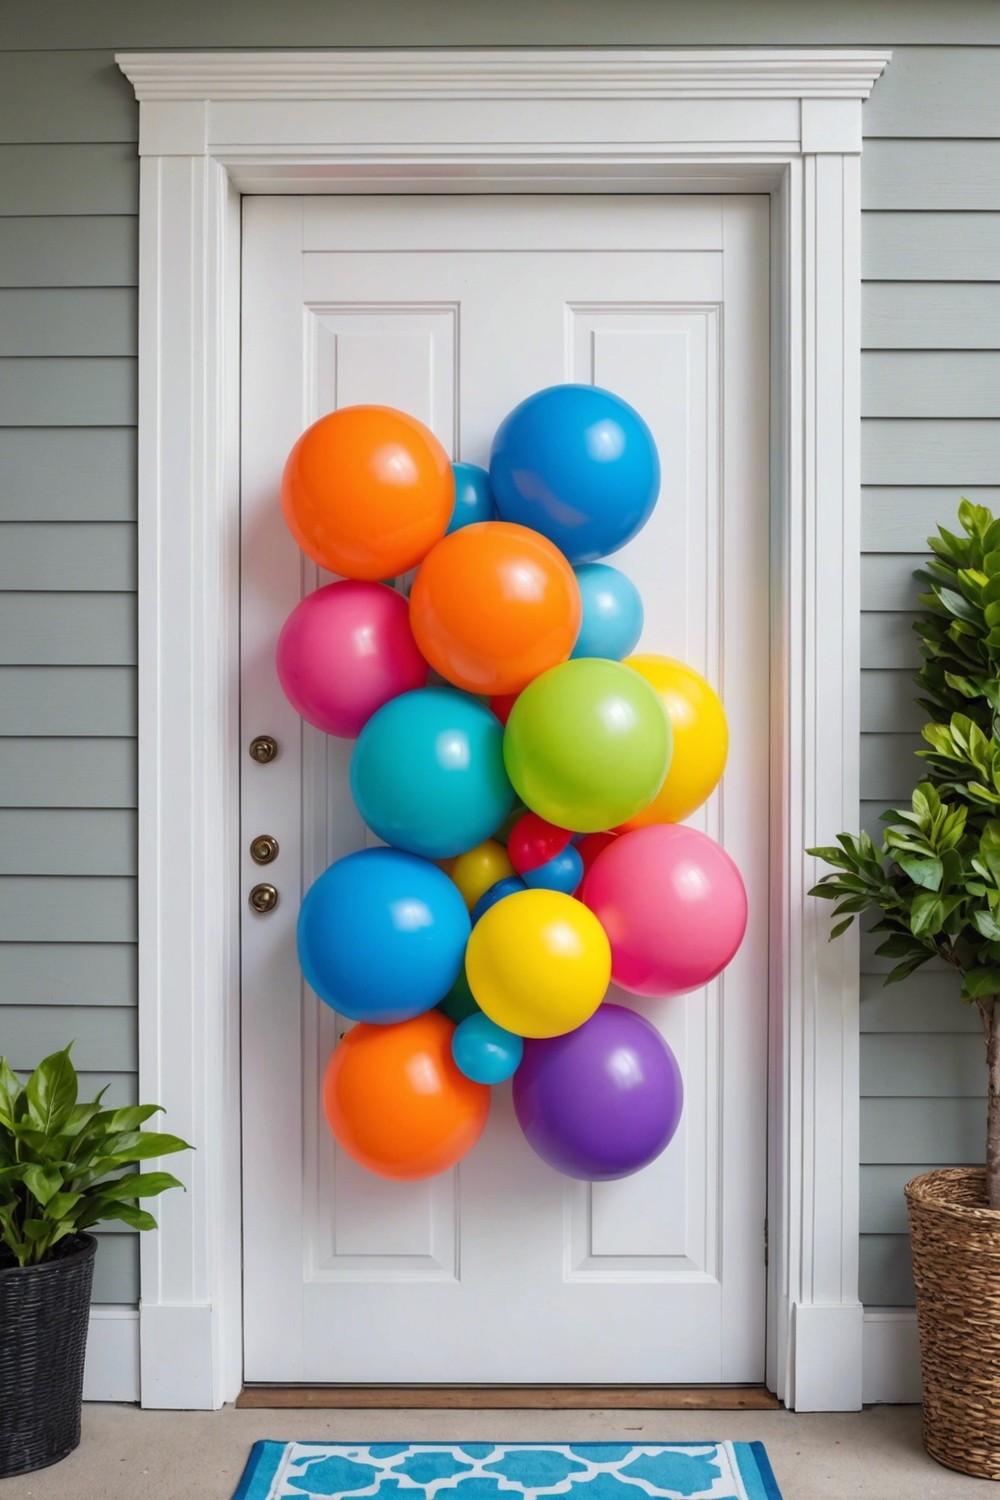
Over-the-door storage is a clever way to keep your pool floats organized and within reach. By attaching a storage rack or hooks to the back of a door, you can effortlessly hang and store your inflatables.
This space-saving solution is perfect for small garages, sheds, or pool houses, and keeps your floats off the floor, reducing clutter and preventing damage.
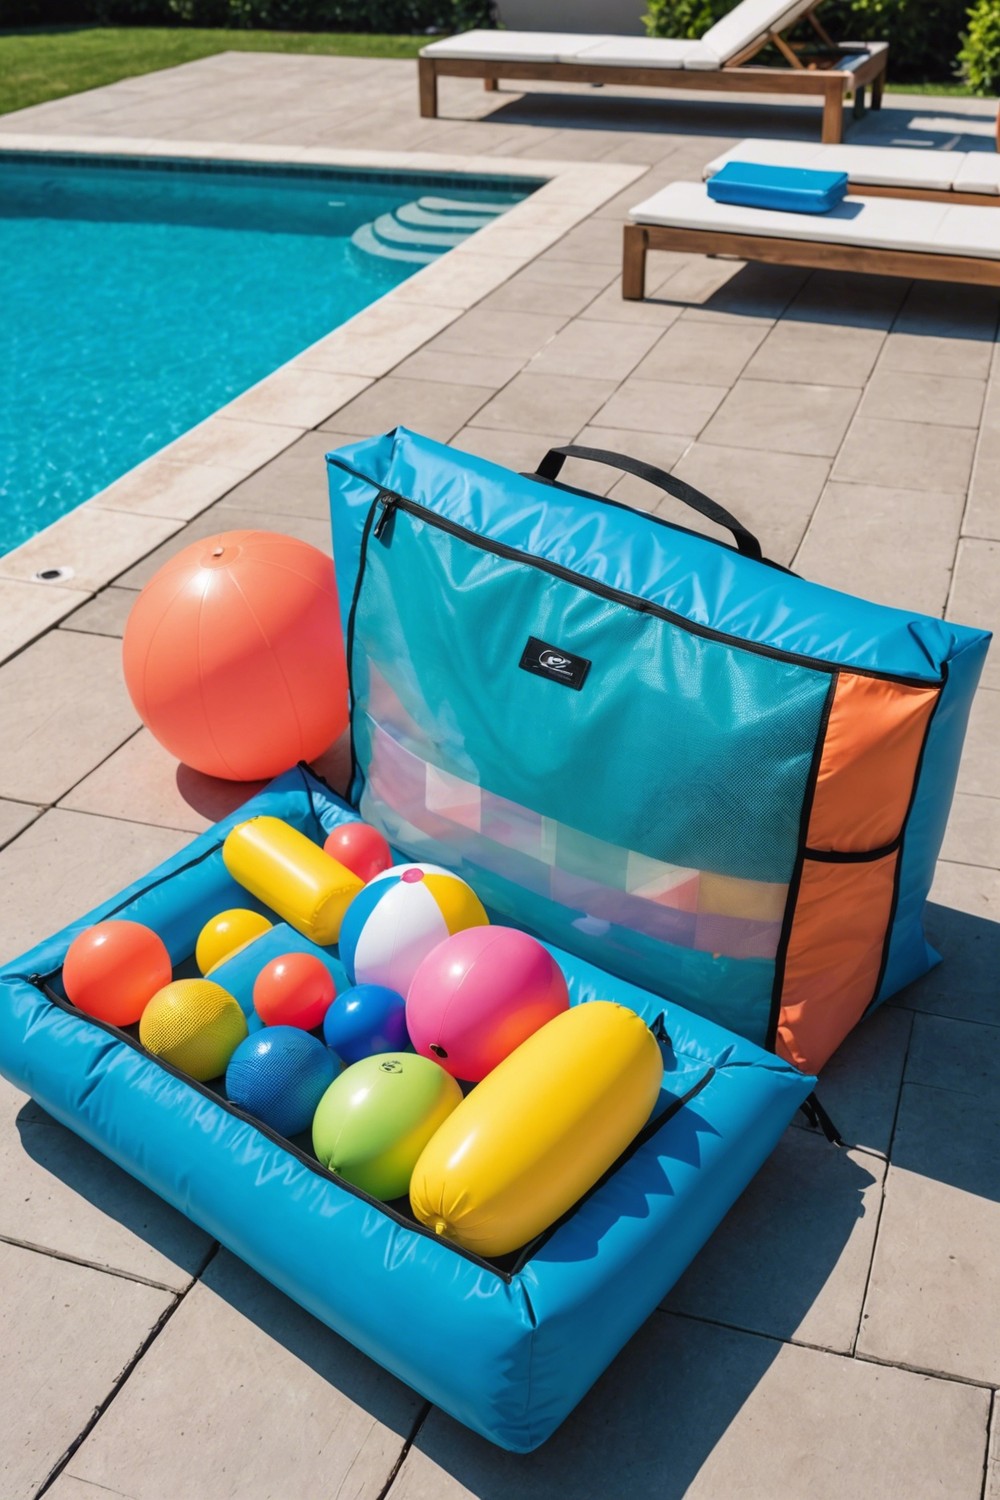
Investing in a pool float bag is an excellent way to store your pool floats.
These bags are specifically designed to keep your floats clean, dry, and protected from the elements.
Look for a bag with breathable mesh panels to ensure air circulation and prevent moisture buildup.
With a pool float bag, you can easily store your floats in a compact space, keeping your pool area organized and clutter-free.
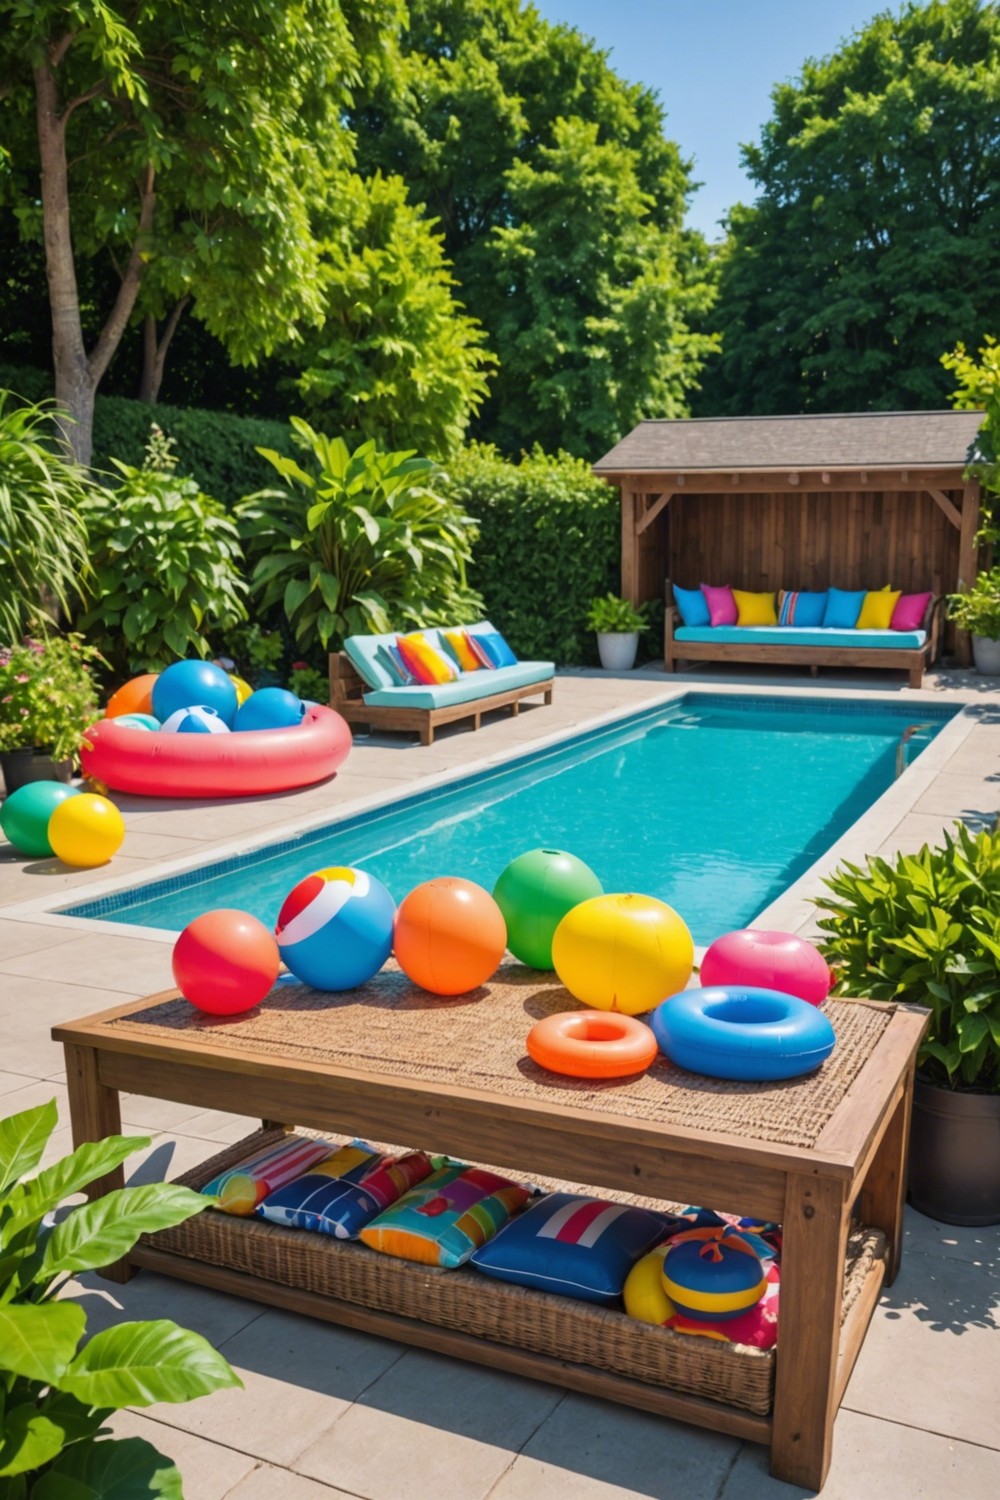
A covered storage bench is an excellent way to keep your pool floats organized and out of sight. Simply place the bench near your pool area and store your floats inside.
The cover will protect them from the sun, rain, and wind, keeping them in great condition.
Plus, the bench provides a convenient seating area, perfect for putting on shoes or taking a break from the sun.
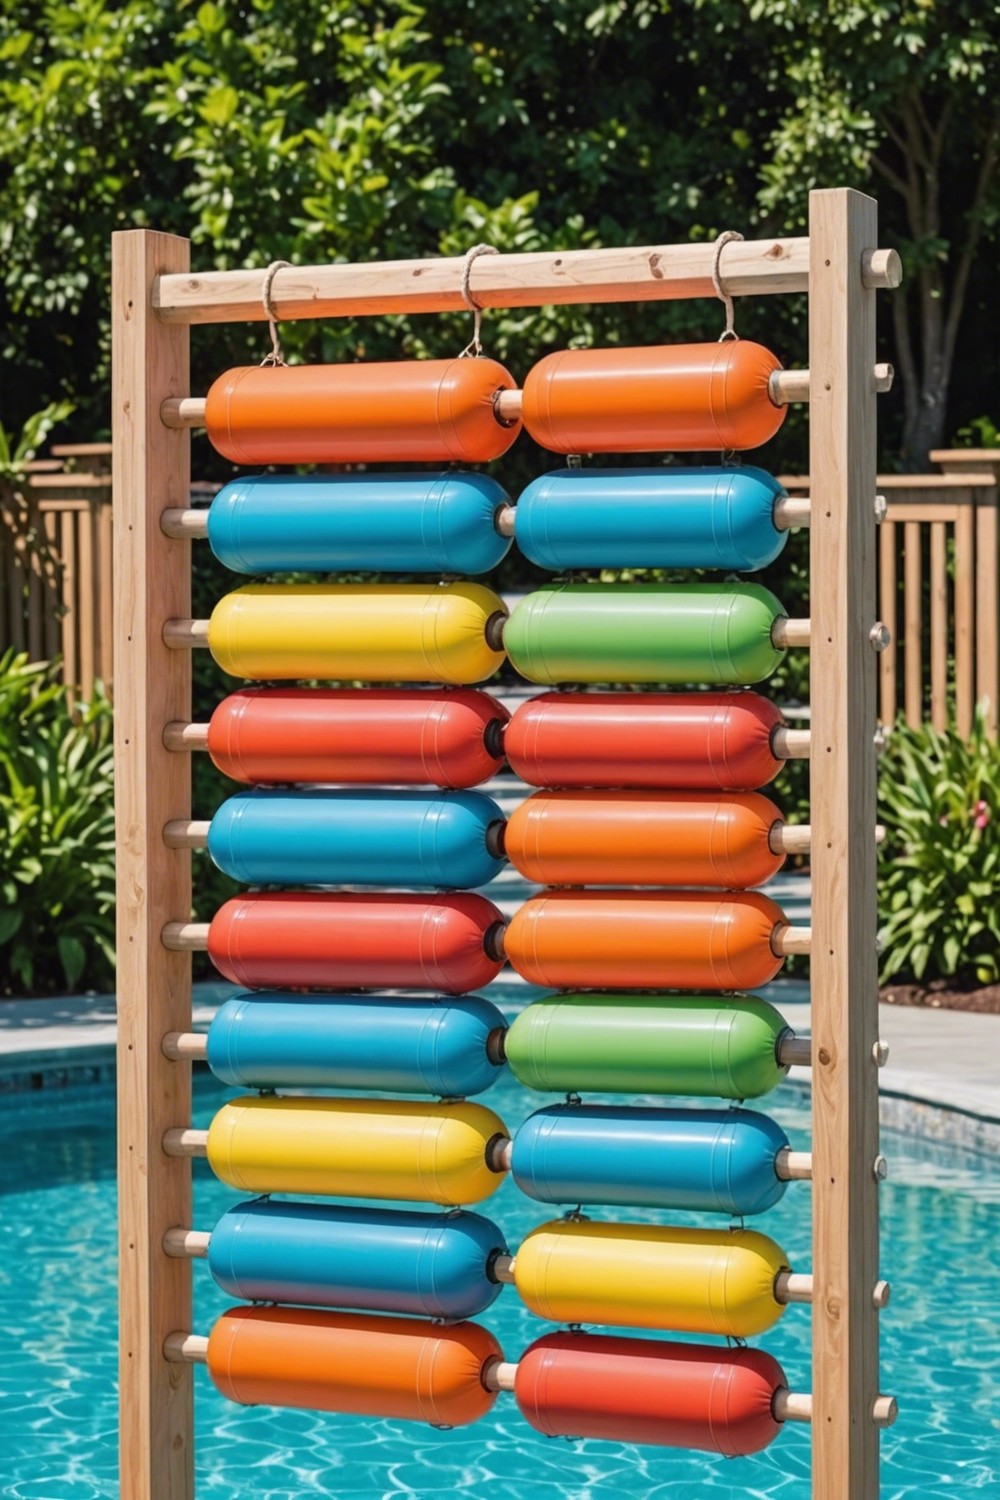
A DIY pool float holder is an easy and functional way to keep your pool floats organized and within reach. You can create one using a few simple materials like PVC pipes, a wooden dowel, and some rope.
Start by attaching the PVC pipes to the wooden dowel to form a sturdy base.
Then, tie the rope around the pipes to create individual slots for your pool floats. You can hang your DIY holder on the fence or a gate near your pool, keeping your floats tidy and easily accessible.

A wall-mounted cabinet is a fantastic way to store pool floats, providing easy access and keeping them off the floor. By installing a cabinet on your pool deck or nearby wall, you can neatly organize your floats, inflatables, and other accessories.
This storage solution also helps maintain a clutter-free pool area, creating a safer and more enjoyable swimming experience.
Plus, a locked cabinet can help prevent unauthorized access to your floats.
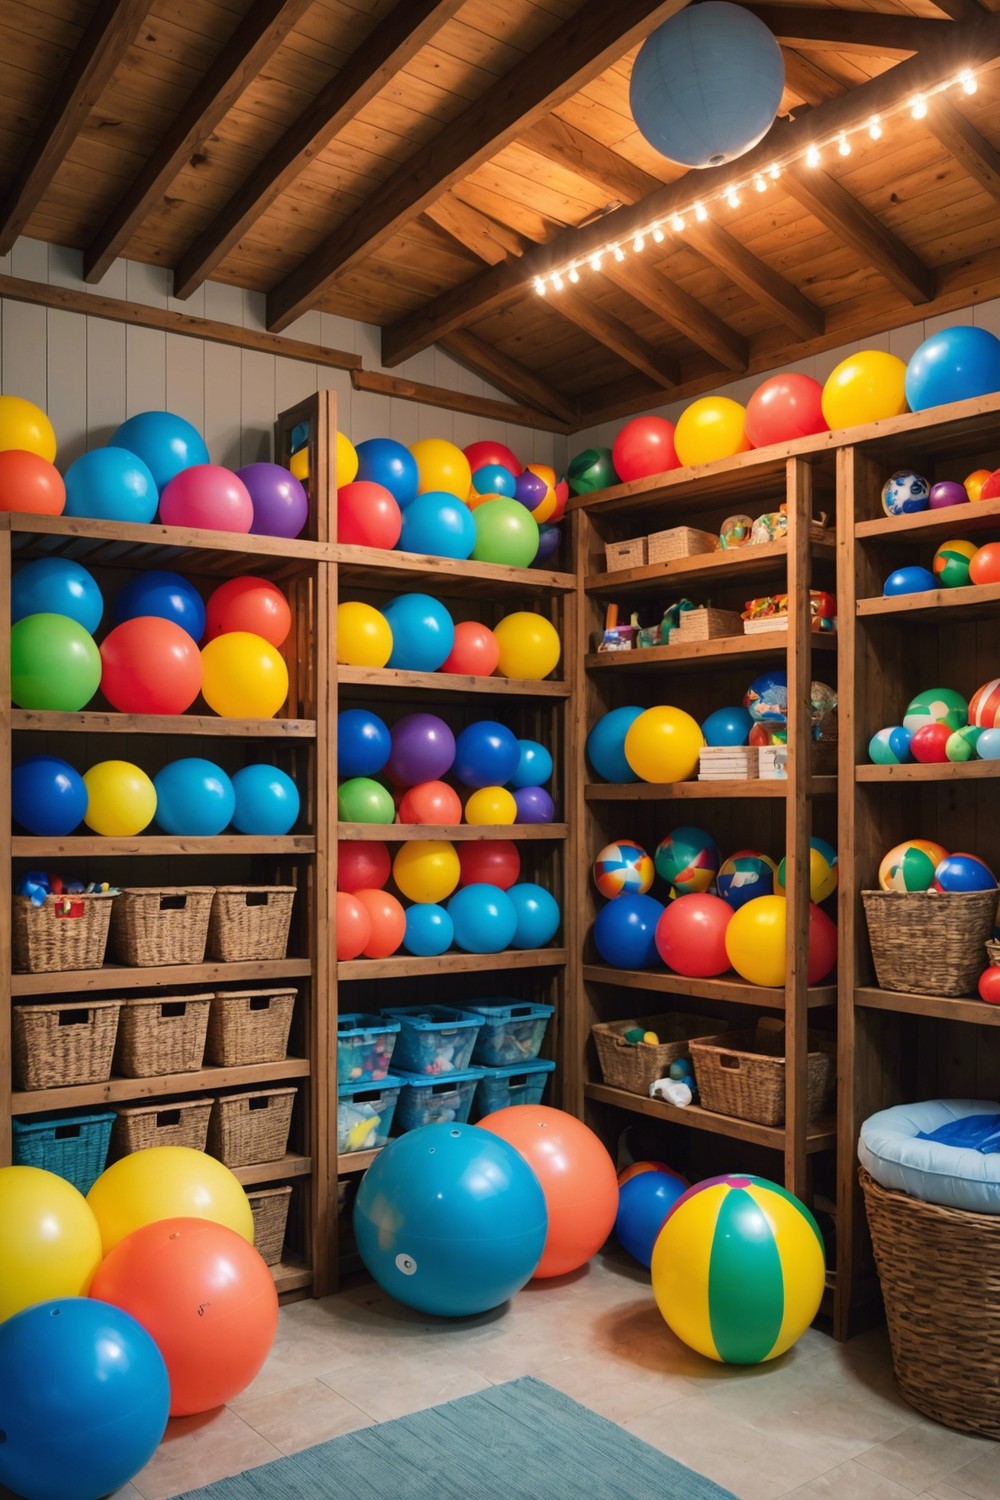
One often overlooked area in pool houses is the loft space.
This area can be utilized to store pool floats, reducing clutter and keeping them organized.
Consider installing shelves, cabinets or hanging racks to maximize storage capacity.
You can also use stackable bins and baskets to store smaller floats and accessories.
By utilizing this space, you’ll keep your pool area tidy and make the most of your pool house’s vertical space.
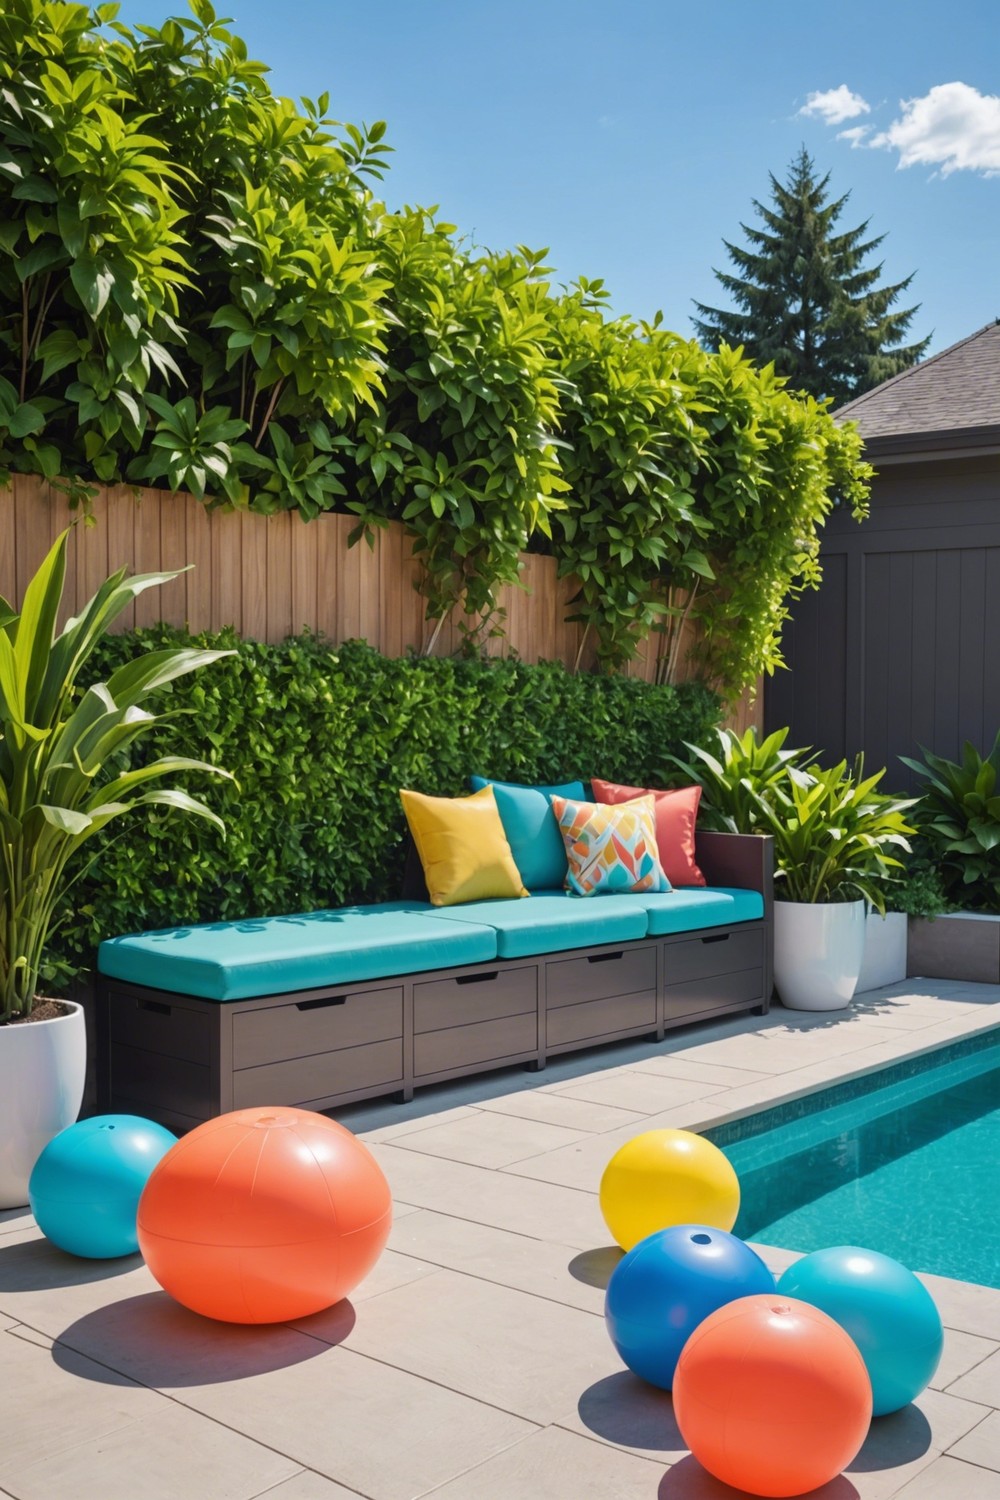
Designate a patio storage bench to stash pool floats and other poolside accessories. This multi-functional bench provides ample storage space underneath the seating area, allowing you to store floats, pool toys, and other essentials within easy reach.
With its stylish design, the patio storage bench seamlessly blends into your outdoor décor while keeping your pool area organized and clutter-free.
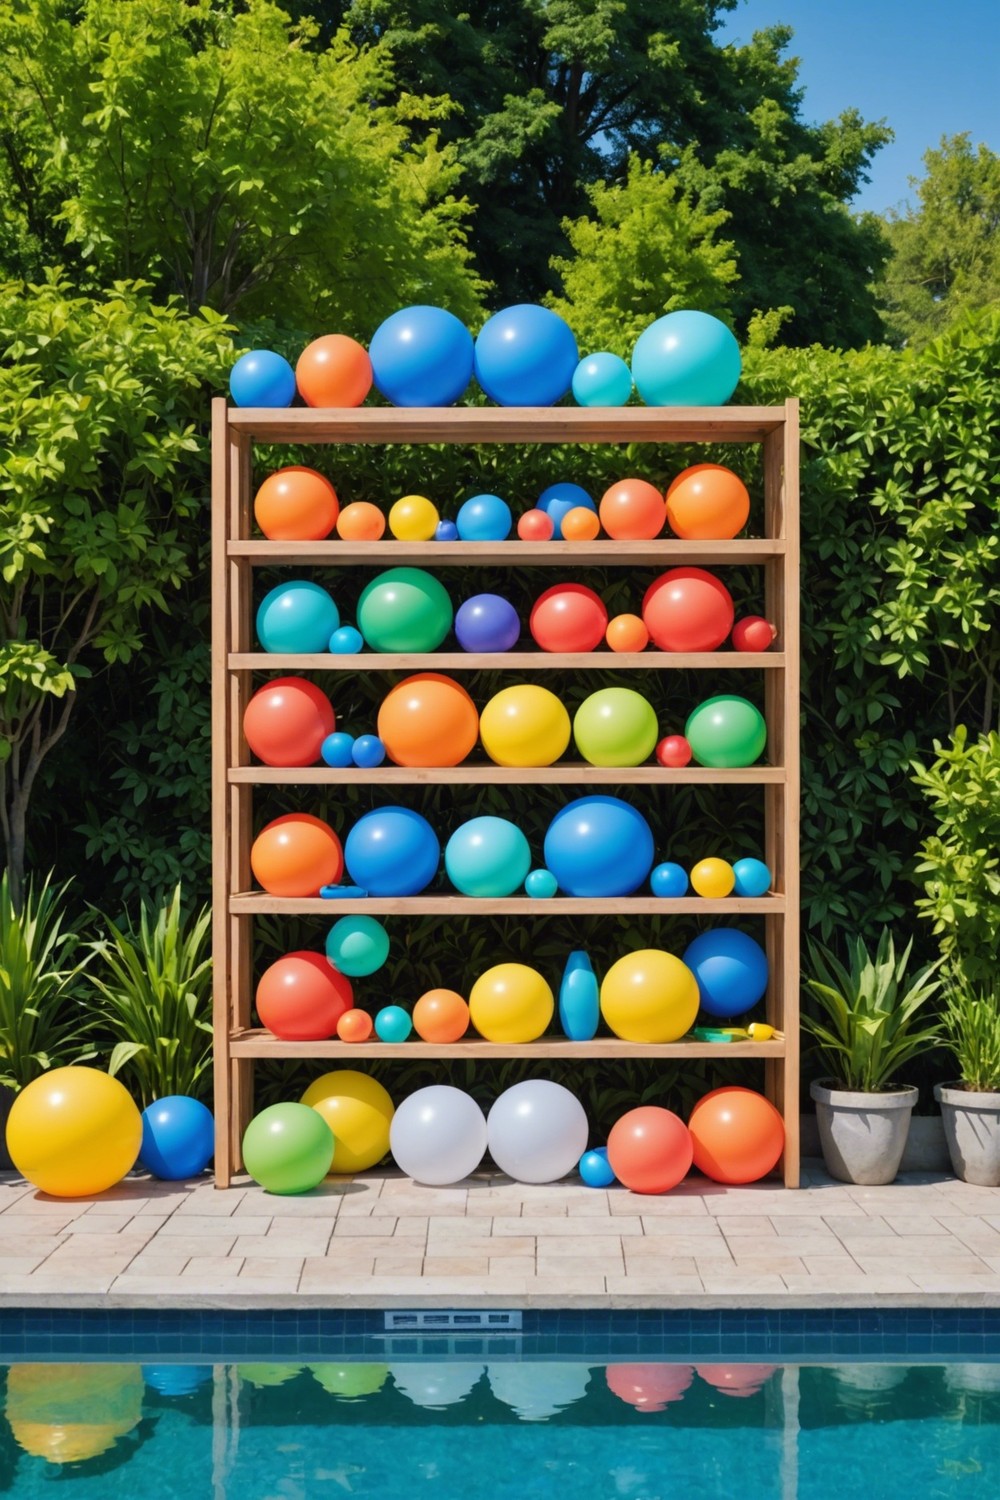
A free-standing shelving unit is an excellent option for storing pool floats, as it provides ample space and can be easily moved around. Place the shelving unit near the pool area to keep floats within easy reach.
You can also adjust the shelves to accommodate floats of different sizes and shapes.
This storage solution is versatile, and you can always add more shelves or baskets as needed.
