Beautiful Plants For Your Interior
Beautiful Plants For Your Interior

Are you tired of working on wood pieces only to find out that your table saw doesn’t accommodate the size of your workpiece? Fret not, making your own table saw insert is easier than you think!
In this article, we will guide you through the step-by-step process of creating a perfectly sized and fitted table saw insert which shall not only increase the efficiency of your saw but also save you from spending a fortune on purchasing a new one.
We’ll start with the basics of table saw inserts and take you through the necessary materials, measuring, cutting, routing, installation, and alignment process with ease. Trust us; it’s simpler than you think. We’ll even share some exclusive tips and tricks to ensure your table saw runs smoothly and continues to serve you for years to come! So, let’s get started!
Table saw inserts are an essential part of any table saw. It is a thin, removable plate that fits into the top of the saw and sits around the blade. The insert is usually made of plastic or metal and ensures a smooth and stable surface for the wood to slide over when cutting.
Without a table saw insert, the blade can create a gap between the saw’s surface and the piece of wood being cut. This gap results in uneven cuts and can even cause your workpiece to be pulled into the saw blade, resulting in a dangerous situation.
In this guide, we will show you how to make your own table saw insert, including the materials needed, measuring and cutting, routing the grooves, installation and alignment, and tips and tricks for maintaining your table saw insert.
So, let’s dive in and learn how to make your own table saw insert that will ensure a smooth and safe woodworking experience!
Making your own table saw insert can be a fun and rewarding project. To get started, you will need a few basic materials.
By gathering these materials, you will be well on your way to creating a custom table saw insert that will fit your specific needs. With measurements and cutting techniques covered in the next section, you will be able to create a custom insert that is not only functional, but also looks great on your saw.
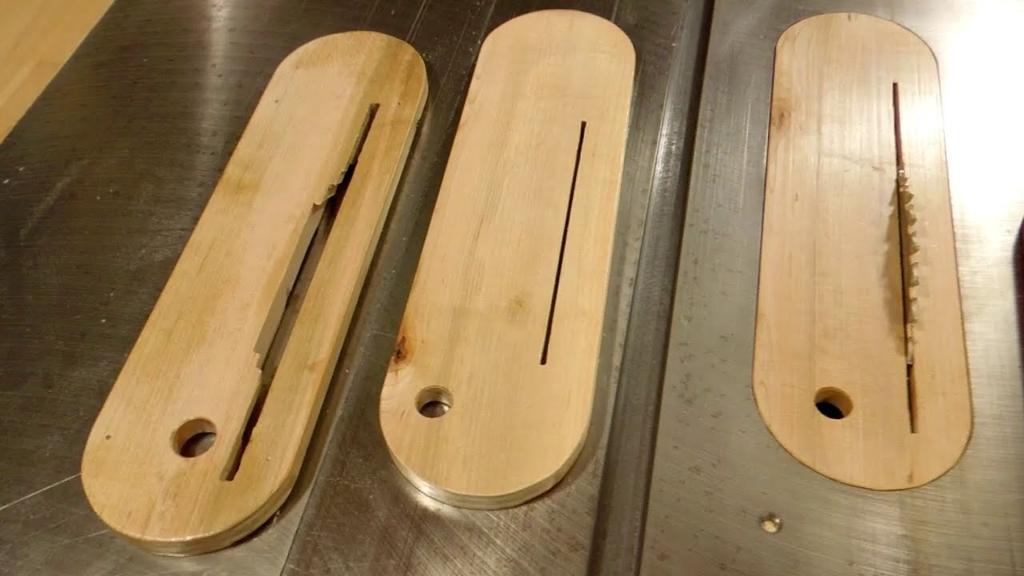
The first step towards making a perfect table saw insert is measuring and cutting it precisely. The measurements should be accurate for a seamless fit into the saw. Start by measuring the dimensions of the saw’s blade opening and transfer these measurements onto your insert. Using a pencil and a ruler, mark the insert’s cutline based on the measurements. Ensure that the lines are straight and parallel to each other.
Next, clamp down your insert firmly onto a workbench or a sawhorse, and cut along the marked lines using a jigsaw or a coping saw. Work gradually and follow the lines carefully to obtain a neat result. Remember to keep the blade perpendicular to the surface of the table saw insert. To prevent chipping, use a fine-toothed blade and mask the cutline with painter’s tape.
Cutting a table saw insert requires practice, patience and attention to detail. So take your time and make sure the dimensions and cuts are accurate. A well-fitted and level insert will enhance the efficiency and safety of your table saw.
In the next section, we will look at routing the insert’s grooves, which is a crucial step towards achieving a snug fit.
After successfully measuring and cutting your table saw insert, the next step is to route the insert’s grooves. These grooves play a crucial role in ensuring the insert sits securely on your table saw. Without properly routing them, you run the risk of the insert shifting while using the saw, causing damage to both the saw and your materials.
To ensure the grooves are properly routed, you will need to use a router with a straight-cutting bit. The depth of the grooves should be slightly shallower than the thickness of the insert. It’s important to take your time and make sure the grooves are precise and straight.
One helpful tip is to use clamps to hold the insert in place while routing the grooves. This will prevent the insert from moving during the routing process, resulting in cleaner and more accurate grooves.
Aside from ensuring the insert is securely in place, properly routing the grooves also helps with alignment when installing the insert. This is especially important for those who frequently change their saw blades and require a precise fit for their insert.
With that being said, routing the insert’s grooves is an essential step in making your own table saw insert. Take the time to do it properly and you’ll have a high-quality insert that will serve you well for years to come.
Installing and aligning a table saw insert is the final step in making your own table saw insert. Before installing, ensure that the table saw is turned off and unplugged.
Firstly, place the insert over the opening in the table saw and carefully lower it into position. Once in position, ensure that the insert fits snugly into the opening. If it is loose, use shims to secure it in place.
Next, align the insert so that it is flush with the surface of the table saw. This is important to ensure that the wood being cut does not bind on the insert.
After aligning the insert, tighten the screws to secure it in place. Make sure not to overtighten the screws as it can cause the insert to warp.
Once the insert is installed and aligned, turn on the table saw and check for any vibrations or unusual noises. If there are any issues, turn it off and recheck the alignment of the insert.
Following these installation and alignment steps will ensure that the table saw insert functions properly and safely while you work on your woodworking projects.
Once you have made and installed your own table saw insert, it’s important to maintain it to ensure its longevity and maximum performance. Here are some tips and tricks for maintaining your table saw insert:
It’s essential to clean your table saw insert regularly to keep it free from sawdust and debris. Use a small brush or a vacuum cleaner to remove sawdust from the surface and the grooves of the insert. You can also wipe it down with a damp cloth.
Waxing the surface of the insert can help it slide easier, making it easier to work with wood. You can use paste wax or silicone spray, which will also help to protect the surface from rust.
Over time, your table saw insert may become damaged or show signs of wear and tear. It’s essential to replace it when it’s no longer performing adequately, as a damaged insert can cause accidents and mistakes in your work.
When not in use, store your table saw insert in a dry, cool place. Make sure to keep it away from direct sunlight, moisture or extreme temperature changes, which can cause warping or damage.
By following these simple tips, you can ensure that your DIY table saw insert continues to perform well for years to come.
In conclusion, making your own table saw insert is not only cost-effective, but also allows you to customize it to fit your specific needs. As we have seen, the process is not complicated and can be easily done with the right tools and materials. By following the steps above, you will be able to create a perfect-fitting insert that will allow you to make precise cuts with ease. Remember to take accurate measurements, use safety precautions, and pay close attention to details such as alignment and groove size. Additionally, it’s important to maintain your insert to keep it in good condition and prolong its lifespan. With these tips and tricks, you can ensure that your table saw insert will continue to serve you well in all your woodworking projects. Happy crafting!