Beautiful Plants For Your Interior
Beautiful Plants For Your Interior
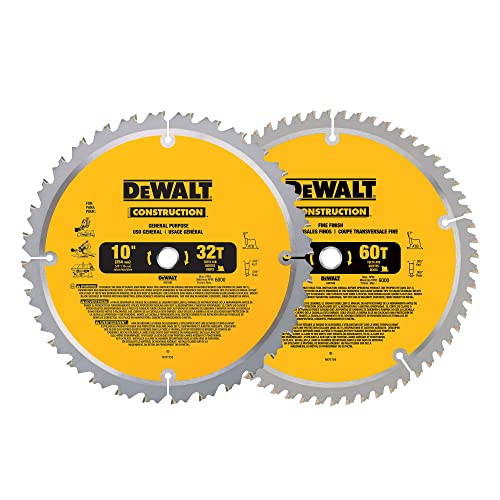
To sharpen the blade on a miter saw, follow these steps:
Step 1: Unplug the saw and remove the blade
Step 2: Secure the blade in a vice
Step 3: Use a file to sharpen each tooth at the same angle
Step 4: Use a metal blade sharpening compound and a rubbing block to sharpen the blade further
Step 5: Ensure all teeth are sharpened equally
Step 6: Reinstall the blade and test the cutting ability
Remember to always wear protective gear, such as gloves and eye goggles, when working with saw blades.

A miter saw is a powerful and versatile cutting tool that is used for many woodworking projects. This type of saw is designed to make precise cuts with ease, but over time, the blade can become dull and less effective. If you want to keep your miter saw in top working condition, it’s important to know how to sharpen the blade.
In this article, we’ll go through the steps of sharpening a miter saw blade, as well as some tips on maintaining your saw and blade for optimal performance.
Safety is paramount when working with a miter saw, and it’s no different when you’re sharpening the blade. Before starting, make sure the saw is unplugged and the blade is cool to the touch. Wear gloves and eye protection to protect yourself from any debris or shavings that may fly off during the sharpening process.
The first step in sharpening your miter saw blade is removing it from the saw. The process for removing the blade may vary depending on the saw model, but in general, you will need to loosen the blade bolt with a wrench and then remove the bolt and any washers or spacers before pulling the blade off.
Once you have removed the blade, inspect it for any damage or signs of wear. Look for any chips or cracks in the blade, as well as any missing or broken teeth. If the blade is damaged, it may need to be repaired or replaced entirely.
There are a few different methods that you can use to sharpen a miter saw blade, including using a file, a sharpening stone, or a specialized blade sharpener. For the purposes of this article, we’ll focus on using a file.
To sharpen the blade with a file, start by securing the blade in a vise or clamp to keep it stable. Use a flat file to sharpen each tooth of the blade individually, starting at the base of the tooth and working your way up to the tip. Use light pressure and consistent strokes, making sure to maintain the original shape and angle of each tooth.
It’s important to note that you should only sharpen the teeth that are facing forward, as the backward-facing teeth are designed to prevent tear-out and should not be sharpened. Once you have sharpened all of the teeth, use a wire brush or steel wool to remove any burrs or debris from the blade.
Once you have finished sharpening the blade, it’s time to reinstall it in your saw. Make sure to clean and lubricate the blade bolt and washers before reattaching them. When tightening the blade bolt, make sure to follow the manufacturer’s recommended torque specifications.
Sharpening your miter saw blade is just one part of maintaining your saw and blade for optimal performance. Here are some additional tips for keeping your saw in top shape:
Sharpening a miter saw blade is a simple and effective way to keep your saw in top working condition. By following the steps outlined in this article, you can ensure that your blade is as sharp as it needs to be for your next woodworking project. Remember to always prioritize safety and follow the manufacturer’s recommended maintenance guidelines for your saw to keep it running smoothly for years to come.