Beautiful Plants For Your Interior
Beautiful Plants For Your Interior

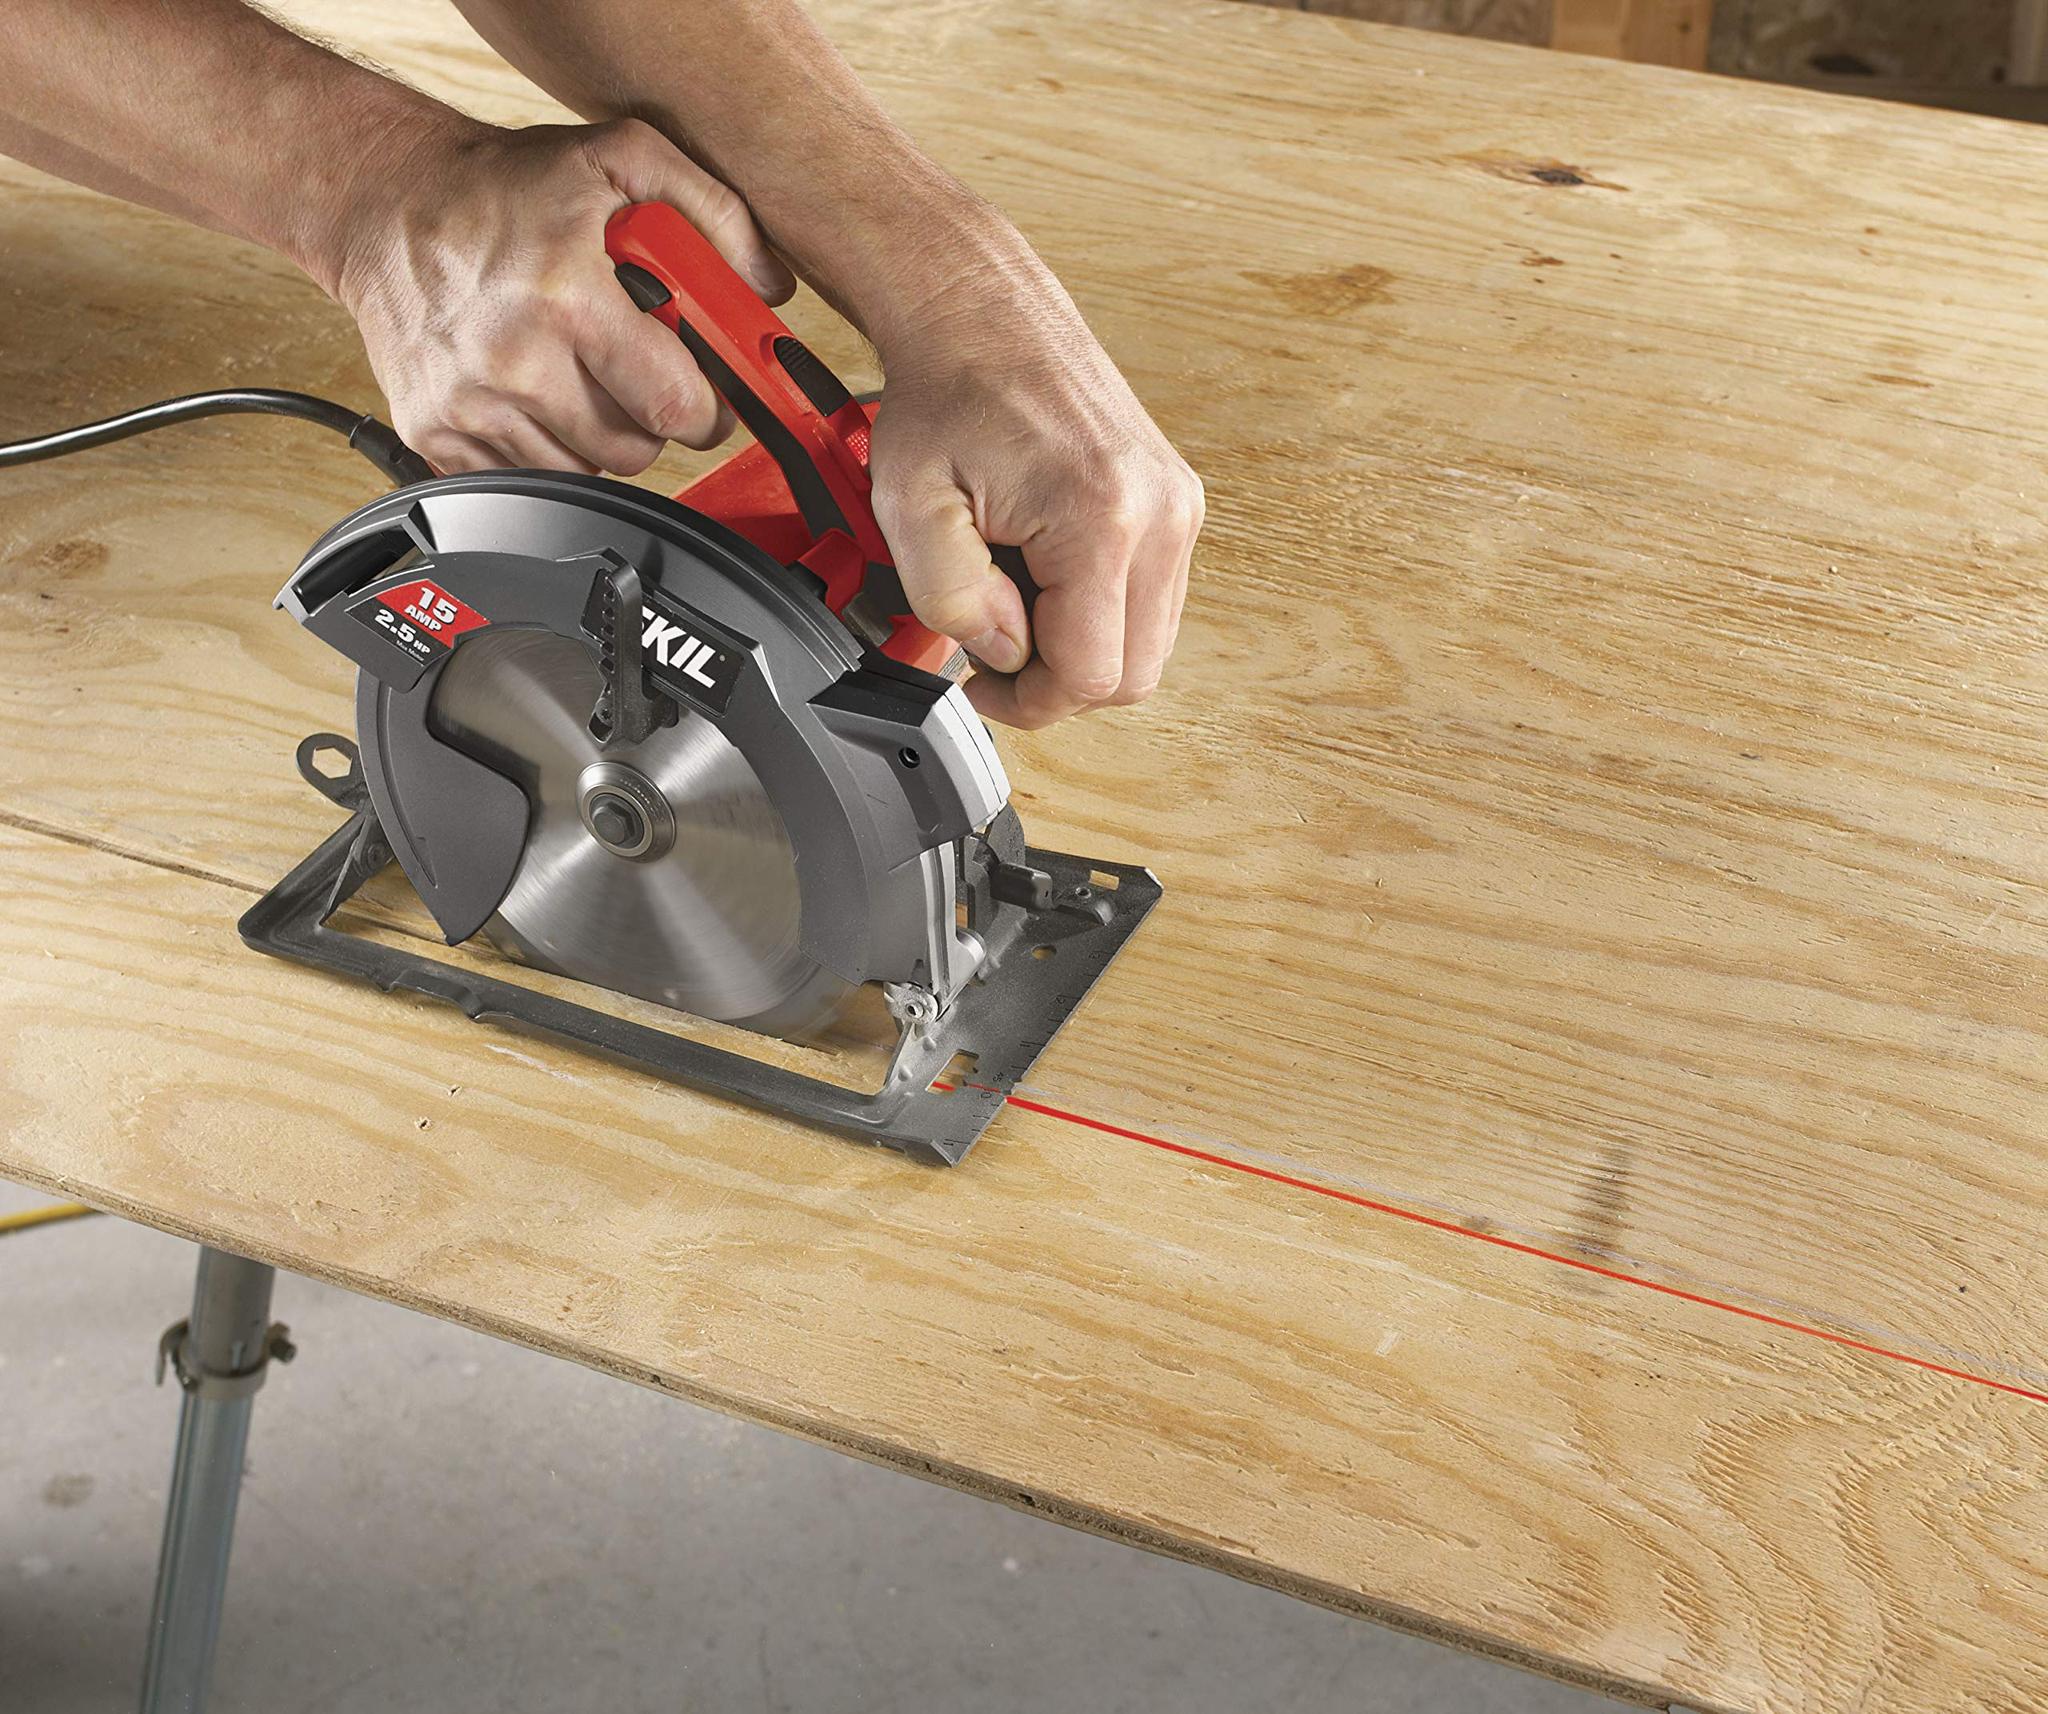
To properly use a laser guide on a circular saw, align the laser with the blade of the saw, then adjust the saw’s depth and angle settings to match the guide. Make sure to double check the settings before making any cuts.
When I first started using a circular saw, I was never able to make the perfect straight cut. I thought I was doing something wrong – until I discovered the magical world of laser guides! It was like a dream come true – finally, I could make perfectly straight cuts with ease!
But I quickly realized that there was much more to using a laser guide than just plugging it in and going. I had to learn how to properly set up and position the laser guide, how to make sure it was level, and how to ensure my cuts were straight.
In this blog, I’m going to share my journey of learning how to properly use a laser guide on a circular saw. I’ll discuss the benefits of using a laser guide, the types of laser guides available, how to set up and position the laser guide, safety precautions, and how to ensure your cuts are straight.
Using a laser guide on a circular saw can make your woodworking projects easier and more efficient. A laser guide projects a bright, straight line onto the material you’re cutting so you can follow it accurately. This helps you make more precise cuts and improves the quality of your finished projects.
The most obvious benefit of using a laser guide is that it saves time. By following the laser line, you’ll be able to make accurate cuts quickly. It’s also easier to use than other methods of lining up cuts because you don’t have to use a straight edge or other tool to ensure accuracy.
Another benefit of using a laser guide is that it makes it easier to work with difficult materials. When cutting thin or delicate materials, it’s important to be precise. A laser guide will help you make accurate cuts without damaging the material.
Finally, using a laser guide can help you make safer cuts. Because you’ll be able to make precise cuts more quickly, you won’t be rushing or overworking the saw. This reduces the risk of injury and makes it easier to work with hazardous materials.
Using a laser guide on a circular saw is a great way to improve accuracy, save time, and work more safely. Whether you’re a professional woodworker or just starting out, a laser guide is a must-have tool for any woodworking project.
When it comes to laser guides for circular saws, there are a few options available. The most popular type of guide is a laser guide that attaches directly to the saw. This type of guide will project a straight laser line onto the surface of the material you are cutting, allowing you to make more accurate cuts.
Another option is an adjustable laser guide. These guides are not attached to the saw, and instead can be held in place with a clamp or a suction cup. This type of guide is ideal for cutting in hard-to-reach places or when you need to make multiple cuts at different angles.
Finally, some circular saws come with built-in laser guides. This type of guide is a great choice if you are looking for accuracy and convenience. These guides are usually more expensive than the other options, but they may be worth it if you are looking for a long-term solution.
No matter what type of laser guide you choose, you’ll be able to make accurate, precise cuts with your circular saw. Laser guides help you make more accurate cuts in less time and give you much better results than if you were to try to cut without one.
Setting up and positioning the laser guide on a circular saw is actually very easy and straightforward. First, check that the saw has a receiver bracket for the laser guide. If it does not, you can purchase one from the store where you bought your saw. Once you have the bracket, attach it to the saw blade in the middle of the saw plate. Then, attach the laser guide to the bracket making sure to tighten the screws and secure the guide firmly.
Now that the laser guide is in place, you need to adjust its position. Start by adjusting the guide to the blade’s height and place the laser beam in the middle of the blade. To do this, move the guide up or down until the beam is in the center of the blade at the saw’s cutting depth.
Finally, adjust the laser guide so that the beam is parallel to the saw blade. To do this, move the guide away from the saw blade until the beam is parallel to the saw plate. Make sure to adjust the laser guide so that the beam is in the exact center of the blade and the blade is in the exact center of the beam.
Now, you are all set and ready to use your laser guide on the circular saw. Make sure to follow the manufacturer’s instructions for precise and accurate cutting results every time.
When working with a laser guide on a circular saw, safety should always be your priority. First of all, make sure you are wearing the right protective gear. Goggles are essential to protect your eyes from the bright laser light. It’s also important to keep your work area well lit and uncluttered. This will help you stay focused and avoid any potential accidents.
Another important precaution is to double-check the alignment of the laser guide before you start cutting. If the beam of light is misaligned, you may end up with inaccurate cuts. To avoid this, make sure the laser guide is correctly attached to the saw and that the beam of light is lined up with the cutting path.
Finally, take your time when operating the saw. This isn’t a race. You should be using steady and controlled movements, and be sure to keep your body away from the blade. If you rush the job, you can easily damage the material or worse, hurt yourself.
By following these simple precautions, you can easily and safely work with a laser guide on a circular saw. The key is to stay alert and pay attention to your surroundings. Taking the time to make sure everything is in place will help ensure you get the job done right the first time.
Making sure your laser guide is level is a key step in properly using a circular saw. To do this, you’ll need to use a level. Place the level against the saw’s base plate and adjust the saw until the bubble in the level is centered. This will ensure that the laser guide is level.
If you don’t have a level, you can use a straight edge or a carpenter’s square. Place the straight edge or square against the saw’s base plate and adjust the saw until the laser guide is perfectly perpendicular to the straight edge or square.
Once you have the laser guide level, it’s important to check it again before making any cuts. Even the slightest tilt can cause the saw to make inaccurate cuts. So, to make sure you’re cutting precisely, always double-check that the laser guide is level before you start cutting.
Using a laser guide on a circular saw has both advantages and disadvantages, so it’s important to weigh them both before deciding if the laser guide is right for your project.
The biggest advantage of using a laser guide is that it can make cutting straight lines much easier. When you couple the laser guide with a straight guide, you’ll be able to make sure you’re cutting in a perfectly straight line. This makes it much easier to get a more accurate and precise cut than if you were to try and cut without the laser guide.
The downside of using a laser guide is that it can be a bit tricky to set up. Depending on the complexity of your project, it may take some time for you to get the laser guide set up properly. Additionally, you may need to readjust the laser guide several times during the project. This can be time consuming and can slow down the process.
Overall, using a laser guide on a circular saw can be incredibly helpful if you’re looking to make precise cuts. However, you should consider the time it will take to set up and readjust the laser guide before deciding if it’s the right tool for your project.
Making straight cuts with a laser guide on a circular saw isn’t as difficult as it might seem. With a few simple tips and tricks, you can make sure your cuts are spot on every time.
First, make sure you have a strong and stable saw. If it’s wobbly or not securely fastened, your cuts won’t be accurate. You also want to make sure the blade is sharp and the laser guide is properly adjusted.
Next, you need to make sure the laser is properly aligned with the blade. The easiest way to do this is to take a scrap piece of wood, set the saw blade in it, and adjust the laser until it points directly at the blade.
Once the laser is properly aligned, you’re ready to start making your cuts. Make sure to keep the saw steady as you make your cut, and move the saw slowly and evenly. This will help ensure your cut is straight and precise.
Finally, use a clamp to help hold the wood steady while you make the cut. This will help keep the wood from moving and help you make a more precise cut.
These tips and tricks will help ensure you make the most accurate cuts with your laser guide. With a little bit of practice, you’ll be making perfectly straight cuts in no time.
It can be tricky to use a laser guide to make straight cuts, but it doesn’t have to be! You can easily achieve accurate results by following a few simple steps.
The first step is to make sure you’re using the laser guide correctly. Check that the laser is properly aligned with the saw blade and that the guide is parallel to the cutline. This will ensure that the laser is following the blade as it cuts.
Once the laser guide is set up, you can check the accuracy of your cuts by looking at the beam of light. If the beam is parallel to the cutline, then your cut will be straight. If it’s not, then you’ll need to re-align the laser guide.
Finally, inspect the cut itself. If it’s straight and true, then you know you’ve achieved a perfectly straight cut. If not, then you’ll need to make some adjustments to the laser guide and try again.
Using a laser guide to make straight cuts doesn’t have to be a challenge.
The best way to ensure accurate straight cuts with a laser guide is to make sure the saw is properly aligned. Start by adjusting the laser guide to make sure it’s level and pointing in the right direction. Once set, hold the saw firmly and make sure the laser guide is lined up with the cut marks. Make sure to keep your hand steady while cutting and keep the saw blade flush with the laser guide. With proper alignment and a steady hand, you’ll be able to make precise straight cuts.
To ensure accurate cuts with a laser guide on a circular saw, adjust the laser guide setting by loosening the mounting bracket screws, moving the laser guide to the desired spot, and firmly tightening the mounting bracket screws. Make sure to double-check the alignment before cutting to ensure the laser guide is properly set.
To ensure that the laser guide is secure during use, make sure the saw is properly mounted and the laser guide is firmly attached. Check the blade guard is in the correct position and the saw is correctly aligned with the line of the laser guide. Check the blade is securely tightened and the power cord is not in the way. Also make sure that you are wearing the correct safety gear, such as eye protection and gloves. Lastly, always be aware of your surroundings and respect the safety of those around you.
Laser guides on circular saws require minimal maintenance. Generally, you should check to make sure the laser guide is working before each use, wipe off any dust and dirt, and keep the lens clean. Additionally, you should periodically check the guide and saw alignment and adjust the laser guide if necessary. Lastly, it’s important to replace the batteries in the laser guide as needed. Following these steps will help you ensure the laser guide is working properly.
When using a laser guide on a circular saw, the best techniques include making sure the laser is properly aligned with the blade, keeping the saw perpendicular to the surface, and double-checking the measurements before cutting. Additionally, be sure to protect your eyes with safety goggles and wear ear protectors to avoid any potential harm. Lastly, use a slow and steady speed when cutting to ensure the accuracy of the cut.