Beautiful Plants For Your Interior
Beautiful Plants For Your Interior
To clean the blade on a miter saw, follow these steps:

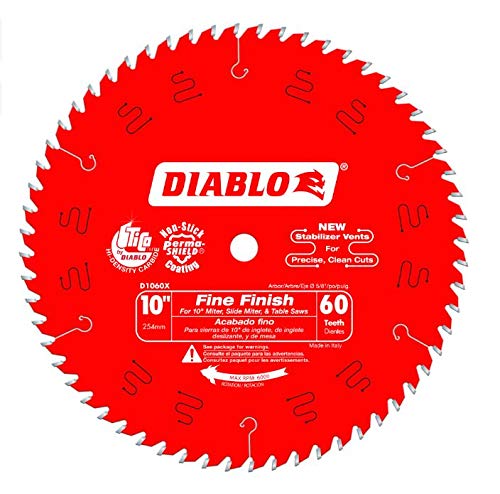
If you have a miter saw, you know that it’s an essential tool for any woodworking project. Whether you’re a professional contractor or a DIY enthusiast, a miter saw can make precise and accurate cuts for your projects. However, to ensure high-quality cuts over time, it’s crucial to keep the saw blade clean. In this guide, we’ll show you how to clean the blade on a miter saw safely and effectively.
Before we get into the cleaning process, here are the tools you need to have on hand:
You can buy a miter saw blade cleaning solution at any home improvement store. If you can’t find a bottle of solution, you can easily make your own cleaning solution by mixing equal parts of water and household ammonia in a container.
Step 1: Safety First
Before you start cleaning the miter saw blade, make sure you take the necessary safety precautions. Turn off the saw and unplug it from the power source. Wear gloves and eye protection to protect yourself from blade fragments or cleaner splashes.
Step 2: Remove the Blade
To clean the blade, you need to remove it from the saw. Follow the manufacturer’s instructions to remove the blade. Be very careful when handling the blade as it’s extremely sharp.
Step 3: Secure the Blade
Once you remove the blade, secure it in a blade-cleaning jig or vice. Make sure the jig or vice you’re using is compatible with the blade’s size.
Step 4: Apply the Cleaning Solution
Apply the cleaning solution to the blade generously. Make sure you cover every tooth of the blade, including the gullets (the spaces between the teeth).
Step 5: Scrub the Blade
Using a stiff brush, scrub the blade vigorously until it’s clean. Don’t use a wire brush or another metal tool that could damage the blade’s teeth.
Step 6: Rinse the Blade
Once you’ve removed the dirt, grease, and rust from the blade, rinse it thoroughly with clean water. Make sure there are no cleaning solution residues left on the blade.
Step 7: Dry the Blade
Dry the blade with a clean rag or paper towel. Avoid touching the blade with your bare hands to prevent oil transfer, which can affect the blade’s performance.
Step 8: Reinstall the Blade
After the blade is dry, reinstall it in the saw as per the manufacturer’s instructions. Make sure you tighten the blade securely.
Clean the blade regularly: Depending on how often you use your miter saw, you should clean the blade weekly or monthly.
Avoid cutting wet or damp wood: Cutting wet or damp wood can cause rust buildup on the blade, which can affect its performance.
Keep the blade lubricated: Using saw lubricating oil can prevent the blade from rusting or corroding.
Store the saw blade properly: Store the blade in a clean and dry place to prevent rust build-up or corrosion.
| Product | Price | Recommended | Pros | Cons |
|---|---|---|---|---|
| Simple Green | $9.99 | Yes | Bio-degradable, Multi-Purpose, Non-toxic | Slightly Sticky residue |
| Blade & Bit Cleaner | $15.99 | Yes | Rust Inhibitor, Prevents pitch buildup, Safe for Carbide | Toxic, Strong fumes |
| Krud Kutter | $12.99 | Yes | Multi-purpose, Safe for tools, Non-flammable | Harsh on skin, Strong fumes |
Cleaning the miter saw blade is vital for the tool’s longevity, performance, and accuracy. Follow the steps outlined in this guide to safely and effectively clean the blade. By doing this, you can ensure that your miter saw will always make precise cuts, no matter what project you’re working on.