Beautiful Plants For Your Interior
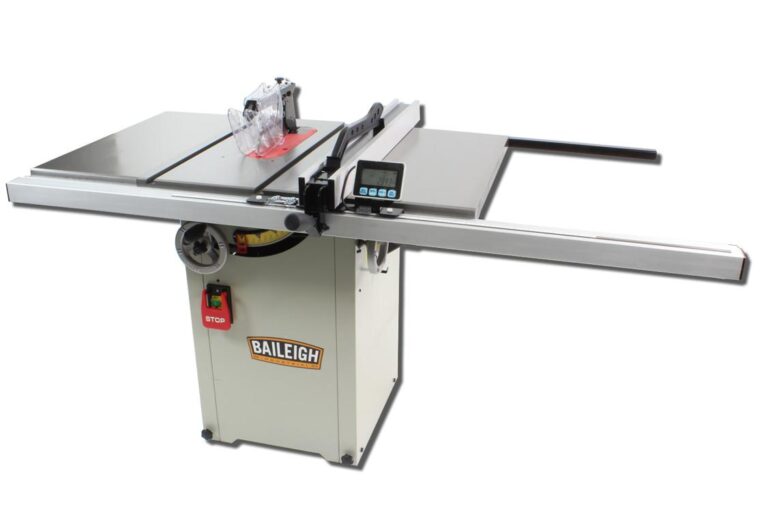
Are you a woodworker who loves creating incredible pieces but struggles with space issues in your workshop? Are you tired of bulky tools taking over your limited space? Look no further, because we have the perfect solution for you. Welcome…
Have you ever wondered how to cut dadoes and grooves with your table saw? Maybe you’ve seen a beautiful piece of furniture or a unique woodworking project and wondered how the creator achieved that perfectly precise cut. Well, wonder no…
Are you tired of dusty sawdust clouds every time you use your table saw? But did you know that inadequate dust collection can lead to serious health risks? Table saw dust can cause respiratory problems, eye irritation, and even cancer.…
**A hybrid table saw** is a great option for DIY woodworkers because it combines the power and durability of a cabinet saw with the versatility and affordability of a contractor saw. Here are some of the advantages:
- **Powerful and accurate:** Hybrid saws offer a powerful and accurate cutting experience with a powerful motor and precise blade alignment.
- **Versatile:** These saws can handle a variety of cutting tasks, from ripping long boards to making precise cuts on small pieces of wood.
- **Portable:** Hybrid saws are more portable than cabinet saws, making them easier to move and store.
- **Affordable:** Compared to cabinet saws, hybrid saws are more affordable, making it a great option for DIY woodworkers looking to upgrade their saw.
To make a simple crosscut sled for your table saw, follow these **steps**:
- **Measure** the width of your table saw.
- Cut a piece of ¾ inch plywood **to** match the width of your saw.
- **Cut** a 1x4 board to the same length as the plywood.
- Align the board **to** the edge of the plywood and then glue and screw it **onto** the plywood to form a T-shape.
- **Attach** runners to the bottom of the sled.
- Cut a kerf in the sled **to** accommodate the saw blade.
- **Test** the sled and make sure it's sliding smoothly on the table saw.
With these steps, you can easily make your own crosscut sled for your table saw, which will make crosscutting safer and more accurate.
Table saws are versatile tools for bevel and angle cuts. To make bevel cuts, tilt the blade angle to the desired angle, and adjust the height for the depth of the cut. For angle cuts, adjust the miter gauge to the desired angle and lock it in place. **Always wear safety goggles and consult the user manual for specific instructions.**
**Tips for successful bevel and angle cuts:**
- Use a push stick to keep hands away from the blade.
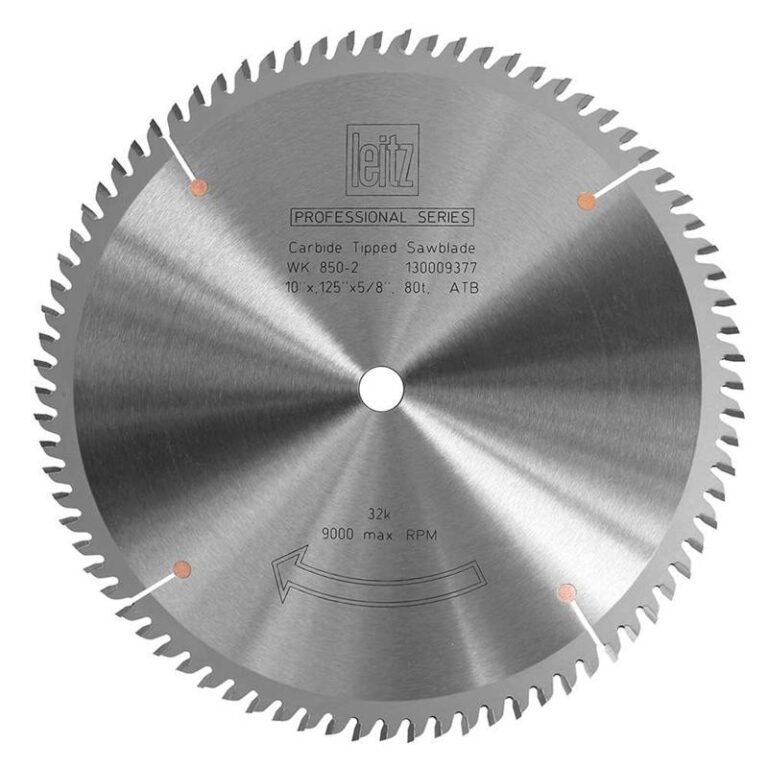
- Ensure the blade is sharp and properly aligned.
- Use a fence to keep cuts straight and consistent.
- Test your cuts on scrap wood before making final cuts.
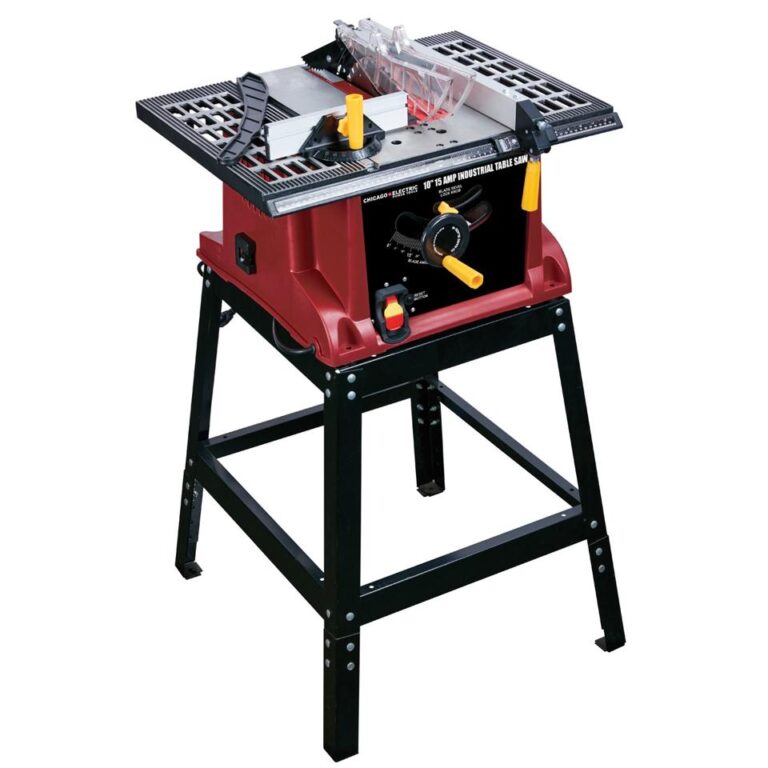
**Upgrading to a Cabinet Table Saw can benefit woodworkers in the following ways:**
- Cabinet saws offer more power and accuracy than contractor saws.
- Cabinet saws typically have better dust collection, resulting in a cleaner and safer work environment.
- Cabinet saws have larger work surfaces and can handle larger pieces of wood.
- Cabinet saws are built to last and require less maintenance than smaller saws.
- Cabinet saws have more safety features, ensuring a safer work environment.
Overall, upgrading to a cabinet saw can improve the quality and efficiency of your woodworking projects, while also increasing safety in the workshop.
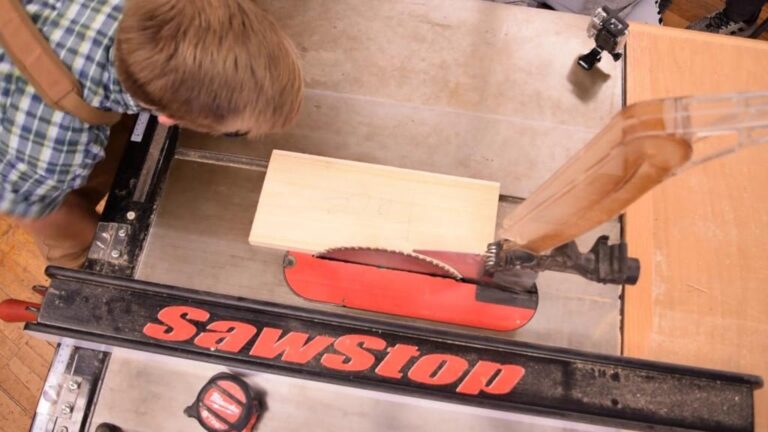
**Essential safety features of a table saw** that should be considered include:
* **Blade guards**: A blade guard covers the portion of the blade that's not in use, protecting the operator from accidental contact.
* **Anti-kickback pawls**: The pawls sit on either side of the blade and prevent wood from being kicked back toward the operator.
* **Riving knife**: The riving knife also helps prevent kickback by holding the wood in place as it moves past the blade.
* **Smart sensors**: Some table saws have sensors that detect when fingers come too close to the blade and quickly stop the blade.
* **Overload protection:** This feature will automatically shut off the saw if it overheats or if the motor overloads.
Investing in a table saw with these **essential safety features** will help ensure a safe and efficient woodworking experience.
Regular **table saw maintenance** is crucial to keep the tool safe and functioning properly. This **upkeep** includes cleaning the saw, inspecting parts for damage, adjusting the blade alignment, lubricating moving parts, and replacing worn-out components. Proper **maintenance** ensures the longevity of the saw while preventing accidents and errors.
**Benefits of regular table saw maintenance:**
- Ensures safe operation
- Increases tool lifespan
- Prevents errors and accidents
- Improves precision and accuracy
- Saves time and money on repairs
- Ensures consistent and quality cuts
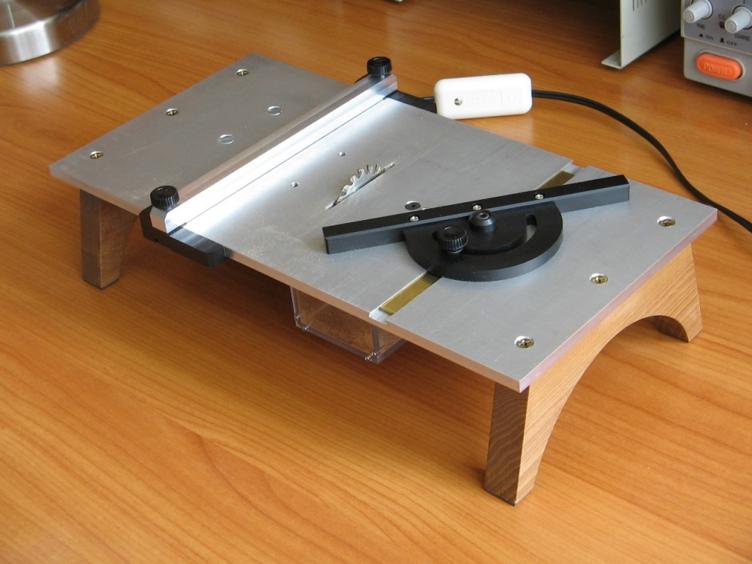
To build a basic table saw workstation, follow these steps:
- **Materials needed**: 4 pieces of 2x4 wood, 2 pieces of 1x4 wood, screws or nails, glue, measuring tape, saw, sandpaper, drill, and jigsaw.
- **Cut two 2x4 wood pieces to the same length, then attach them perpendicularly using screws or nails.**
- **Repeat step one to make the second frame.**
- **Measure and cut two more 2x4 wood pieces to fit between the frames, then attach them using screws or nails.**
- **Cut the 1x4 wood in half, then attach one piece to each side of the frames, creating the table surface.**
- **Use sandpaper to smooth any rough edges or surfaces.**
- **Drill a hole in the table surface for the saw blade to fit through.**
- **Use a jigsaw to cut a slot on one side of the table surface for the fence to slide in.**
- **Add any additional features, such as a dust collection system.**
With these simple steps, you can easily build a basic table saw workstation using common materials and tools.